Ok, before I get started, I wanted to offer a huge thank you to Jamie at The Pi Hut for sorting me out with a copy of the MagPi with the AIY kit. You are a star!
Back in May, the Internet exploded with the news that the MagPi magazine was offering a free Google AIY kit to use with Raspberry Pi. Copies sold out in minutes and people hunted across branches of WHSmiths to try and get their hand on one. Shops got new stock that sold out instantly.
The concept? Google, working with Raspberry Pi, have created a simple voice-interaction module so that you can use your Pi like an Amazon Alexa (but powered by Google).
Naturally, the makersphere exploded with excitement and projects began surfacing across the Internet. Copies of the MagPi were selling on eBay for extortionate prices and people were chattering about what they would create.
I’ve had my copy of the Magpi for a few months, but I wanted to wait until my friend Kirk was visiting as I knew he’d enjoy himself helping us with the making.
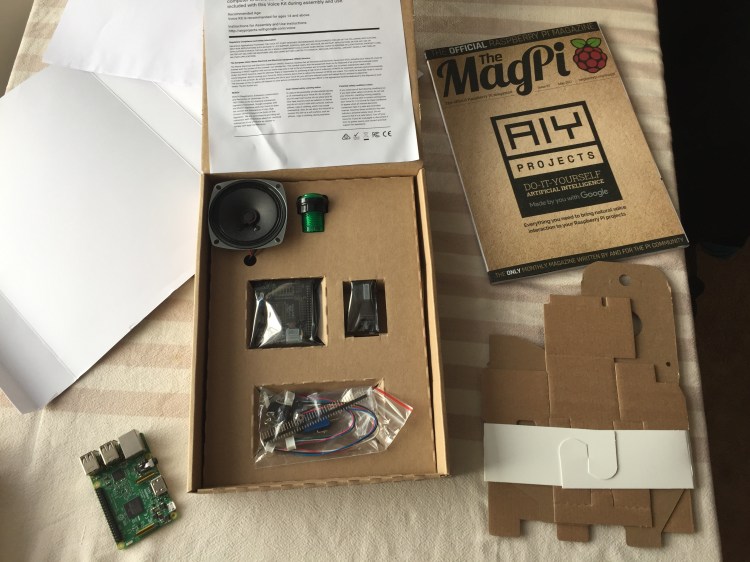
We pulled the kit out of the box, and being the methodical cool kid that I am, I quickly checked the components against the kit I had. This is where we hit the first hurdle – according to the instructions, we had a ’40-pin header’ that was pre-soldered, but the picture showed the 40 single pins that most definitely weren’t pre-soldered. To further add to the confusion, all of the photos of the accessory board within the tutorial appeared to show the 40 single pins soldered on to the board, but the first line of instructions stated that no soldering was necessary – so which was it? Did we need to solder or not?


Further exploration and a brief skim of the instructions made us realise that we didn’t actually need to solder the extra pins on, but we were pretty confused for a while there. Why show them soldered on if we don’t need them!?
Kirk decided to boot up a pi and start writing the code and it was at this point that we realised that we need a special version of OS. Stuart got pretty grumpy at this point because he only knew how to flash SD cards using a command line and he claimed the image file could only be read using a Linux machine – fortunately, I explained about Etcher and we were back on track.
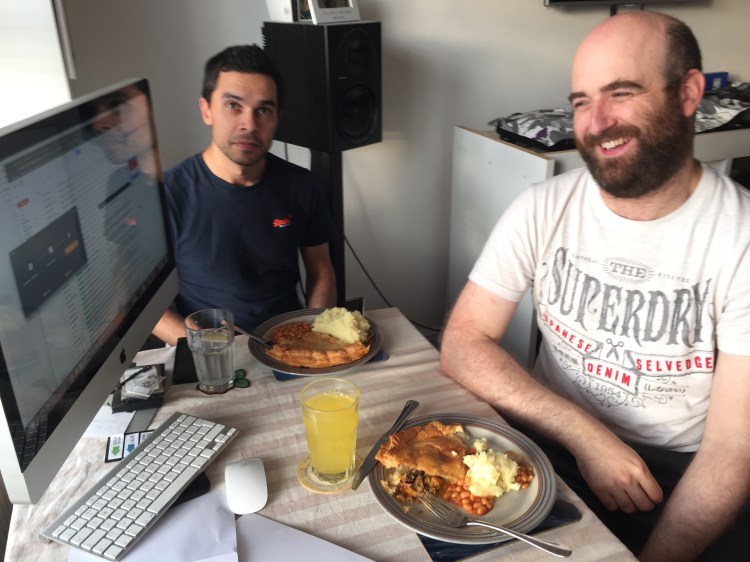
Before we got any further, we decided to stop for dinner – it had been an hour already and all we’d managed to do was flash an image and get confused about the components.
After dinner, Kirk checked the SD card – success!


We knew we had the right image when the AIY background popped up so Kirk made a start on setting up the AIY API (supposedly the hardest part of the task).
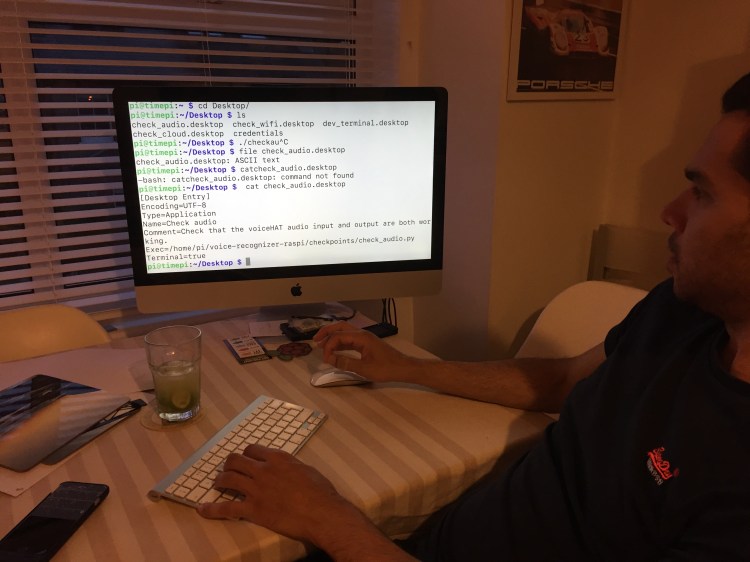
This is where we hit on yet another issue – the new OS image was convinced that we were time travellers and that it was actually January 2018 – Kirk spent quite a bit of time fighting with the date and even tried to just ignore it, but Chrome clearly had other ideas.


I’m not sure what Kirk did, but he managed to get it working eventually, however, the pi was renamed as ‘TimePi’ to represent it’s time-travelling capabilities.
While Kirk got on with the software, I was in charge of building the hardware, while Stuart caused problems by putting things together ahead of the instructions! (Kirk also decided that we need to have a paintbrush in all pictures…each to their own).

The next instruction that made Stuart cross involved using Scotch tape to hold the microphone in place – firstly the microphone didn’t sit flush unless you really rammed it into the cardboard and secondly, Scotch tape did not stick to the cardboard properly and so I had to go and find some masking tape instead.


Meanwhile, Kirk had successfully managed to set up the Google AIY API so that it worked with one of my Gmail accounts – both boys said it was surprisingly easy, considering this was the part that people had warned me about going wrong. Having said that, both Kirk and Stuart are hugely experienced using Google products so they didn’t use the instructions particularly, it was something they already knew how to do.
Kirk wanted me to point out that he found the software set up quite confusing as there were instructions in the magazine as well as completely different instructions online, but he managed to get everything working eventually and when i came in from loading up the dishwasher, the two boys were arguing over whether they were on instruction 9 or 12 depending on whether they were using the online instructions or the magazine instructions.
At this point I realised that there was absolutely no way that I would have been able to get the software side working without the boys and I became confident that this was not a beginners’ project.


I took this opportunity to make some cocktails, while Stuart got excited about there being a slot in the cardboard to easily add the SD card… simple things 😉
We got the light to turn on, but hit on some problems
Stuart dialled in using SSH and we realised that the speaker wasn’t working – on closer inspection, one of the cables that I had previously screwed in had come loose and so we had to pull it apart to refit the cable – personally, I think Stuart knocked it out when he was putting things together in the wrong order, but he claims it was my shoddy building skills!
So, we got the AIY working but were slightly disappointed
Without another add on, we weren’t able to ask the AIY to play music – in fact, it didn’t seem to do much, but the boys got excited and started trying to find out what to do next.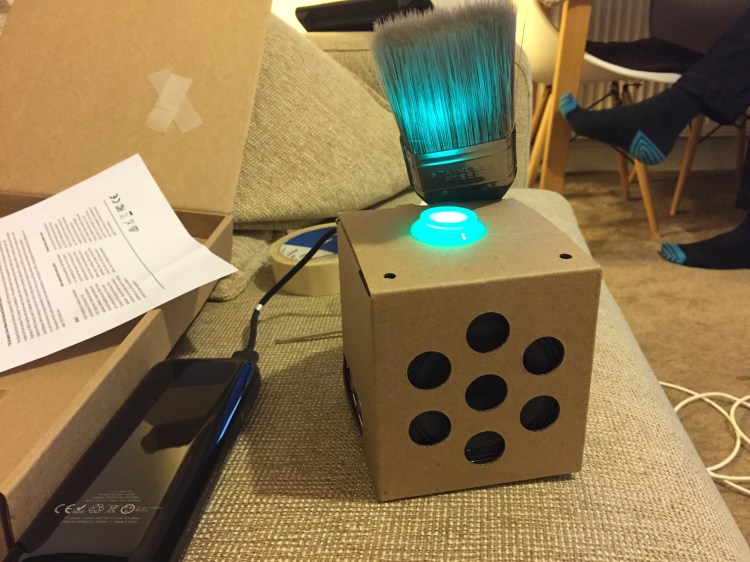
A bit of hunting and I found a great post on the Raspberry Pi forum which explained how to get the AIY to interact with YouTube. Thanks for posting MikeRR

It took a while, but Stuart and Kirk were successful and managed to get techno music playing…
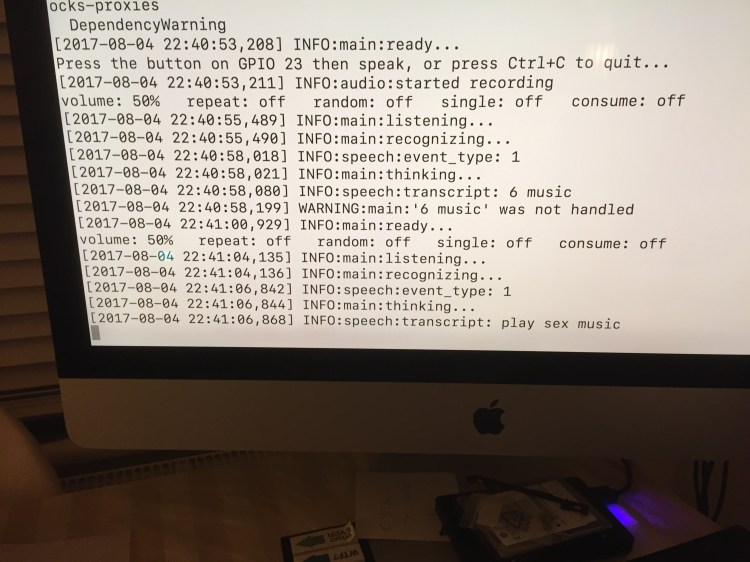
The next step was that Stuart wanted to get Radio 6 music playing through the AIY…Things did not quite go as planned, with the AIY mis-hearing Stuart’s instructions a little bit…
At this point, I was completely oblivious as to what the boys were doing, which once again affirmed that this wasn’t really a project for me, but rather it was better suited to makers and people with greater understanding of both software and hardware. At least they were having fun.
So, in conclusion, I’m not convinced this Raspberry Pi project is one for schools, but in defence of the MagPi, it was never advertised as an educational project, it’s definitely one that’s more for the makers than the educators. The instructions could have done with a bit of polishing, but I suspect most makers wouldn’t have got as confused as I did by something as simple as a pre-soldered header. Basically, this particularly piece was a bit beyond my ability, but the boys had fun, particularly when they got beyond the most basic stage – it was around 11pm when I eventually kicked Kirk out so they must’ve been really enjoying themselves.
The thing is… now what? We have a built AIY unit, but what do we do with it now, other then get it to play Techno Music…

One thought on “Google AIY…”