I bought the Pimoroni Mood Lamp kit way back in March at the Raspberry Pi Birthday Party, but I held off building it until Louise could come around, especially as I was nervous about soldering all of those pins onto the Pi Zero so I thought it would be a nice project for us to do together. You may remember that last year Louise and I built the CamJam 3 robot kit together; she is a talented artist and pub landlady with absolutely no background in computer science and no knowledge about how any of this stuff works, so she’s a great person to try things out with.
So for those of you who aren’t familiar with the Pi Zero, it’s an even more tiny and cheap Raspberry Pi and it doesn’t come with GPIO pins already in place so you have to solder them on if you want to use them. Scary stuff for a novice solderer like me! In February, in time for the 5th birthday, Raspberry Pi announced the Pi Zero W which adds Bluetooth and WiFi to an already tiny and affordable device. The Mood Lamp was one of three kits that were released by Pimoroni at the launch of the Zero W. You can also get your hand on Pirate Radio, Scroll Bot and, as of a couple of weeks ago, the OctoCam – find them here.
So… on to the soldering. We started off watching the new soldering video which the Raspberry Pi Foundation brought out recently starring the lovely Laura Sach. I found Laura’s video to be really useful and interesting, but we also listened to the advice of soldering guru Stuart. As he pointed out to us, he’s been setting fire to carpets since he was 9 years old and so is experienced at soldering.
I had prepared for disaster and got a spare Pi Zero W and a hammer header in case the soldering went horribly wrong – thank you to both ModMyPi and Pimoroni for donating the spares (not that the former had much choice, they foolishly didn’t believe me when I said that the circumference of a pint glass was longer than it’s height and agreed to give me a Pi Zero W if I proved them wrong)… but I digress. The hammer header allows you to add pins to the Pi Zero W by tapping them in place using a hammer, so an excellent option as a back-up plan.
Stuart decided to solder five pins to start us off and hold it in place and then left us to it. He explained that it was important to make sure that we were heating the pin and the Zero and applying the solder to that and not the soldering iron. We had a go at a few pins, but Stuart wasn’t happy and told me to make sure I wasn’t just dabbing solder on the iron and letting in roll down. By the time the pair of us finished, we were pretty happy, but Stuart took a careful look and said that some of our joins didn’t have enough solder and so weren’t properly connected… and to think I was worried that I’d put too much solder on some of them. All told, we were there for around fifteen minutes, but it felt like much longer.


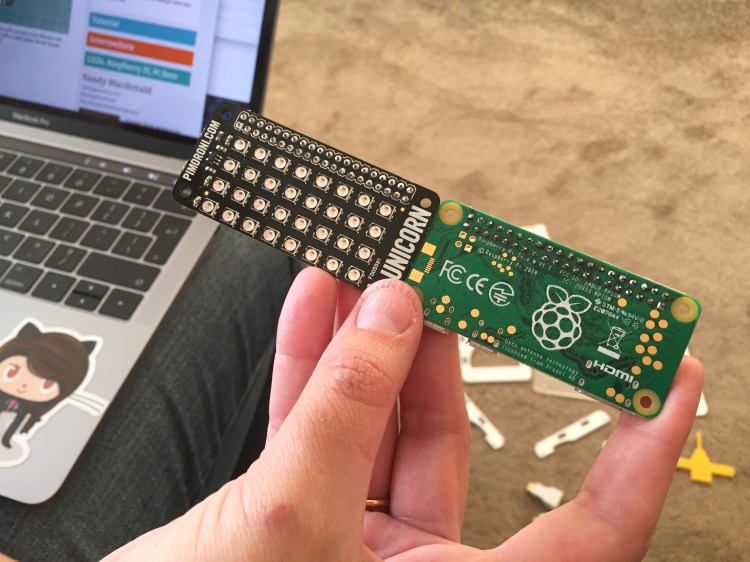
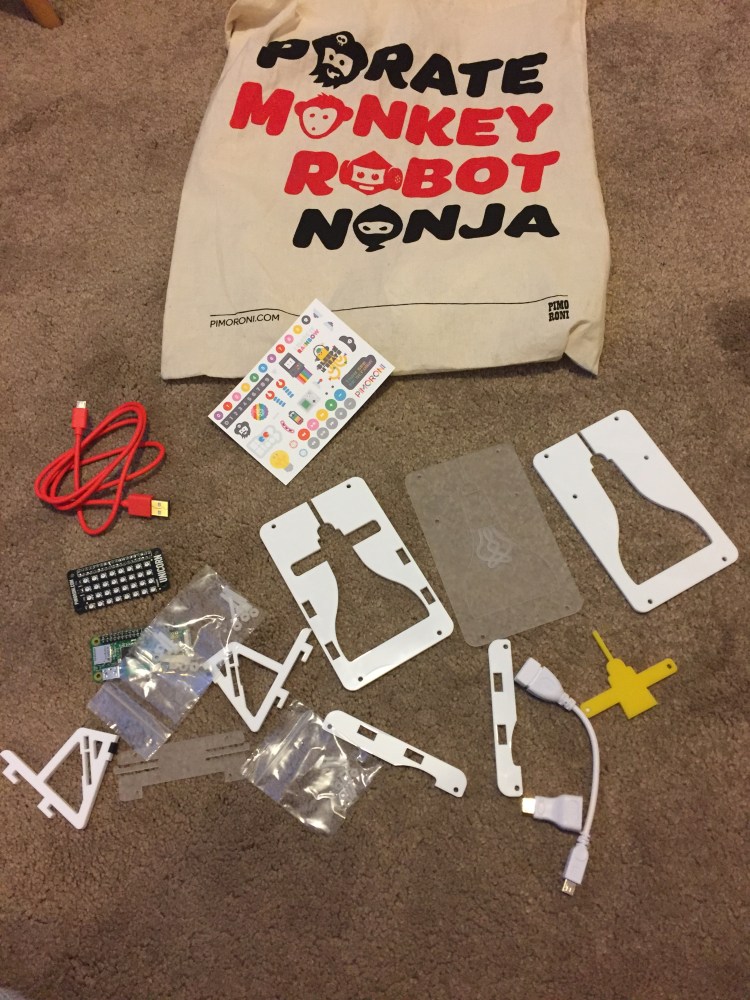
We were pretty pleased with ourselves when we’d finished so we sat down and got the kit out to try and figure out all of the parts… We had a bit of fun peeling off the plastic from the acrylic and laid all the bits out, but then we realised that we had still more soldering to do – the Unicorn Phat needed soldering too!!
Back to the kitchen we went, Louise decided to leave me to it and apparently I hit my soldering mojo and got the entire header soldered in a few minutes!


So, all soldered up, we were ready to go – I was quite interested to see the difference between the soldering on the zero compared to on the Unicorn Phat – I’d clearly improved by the second time!
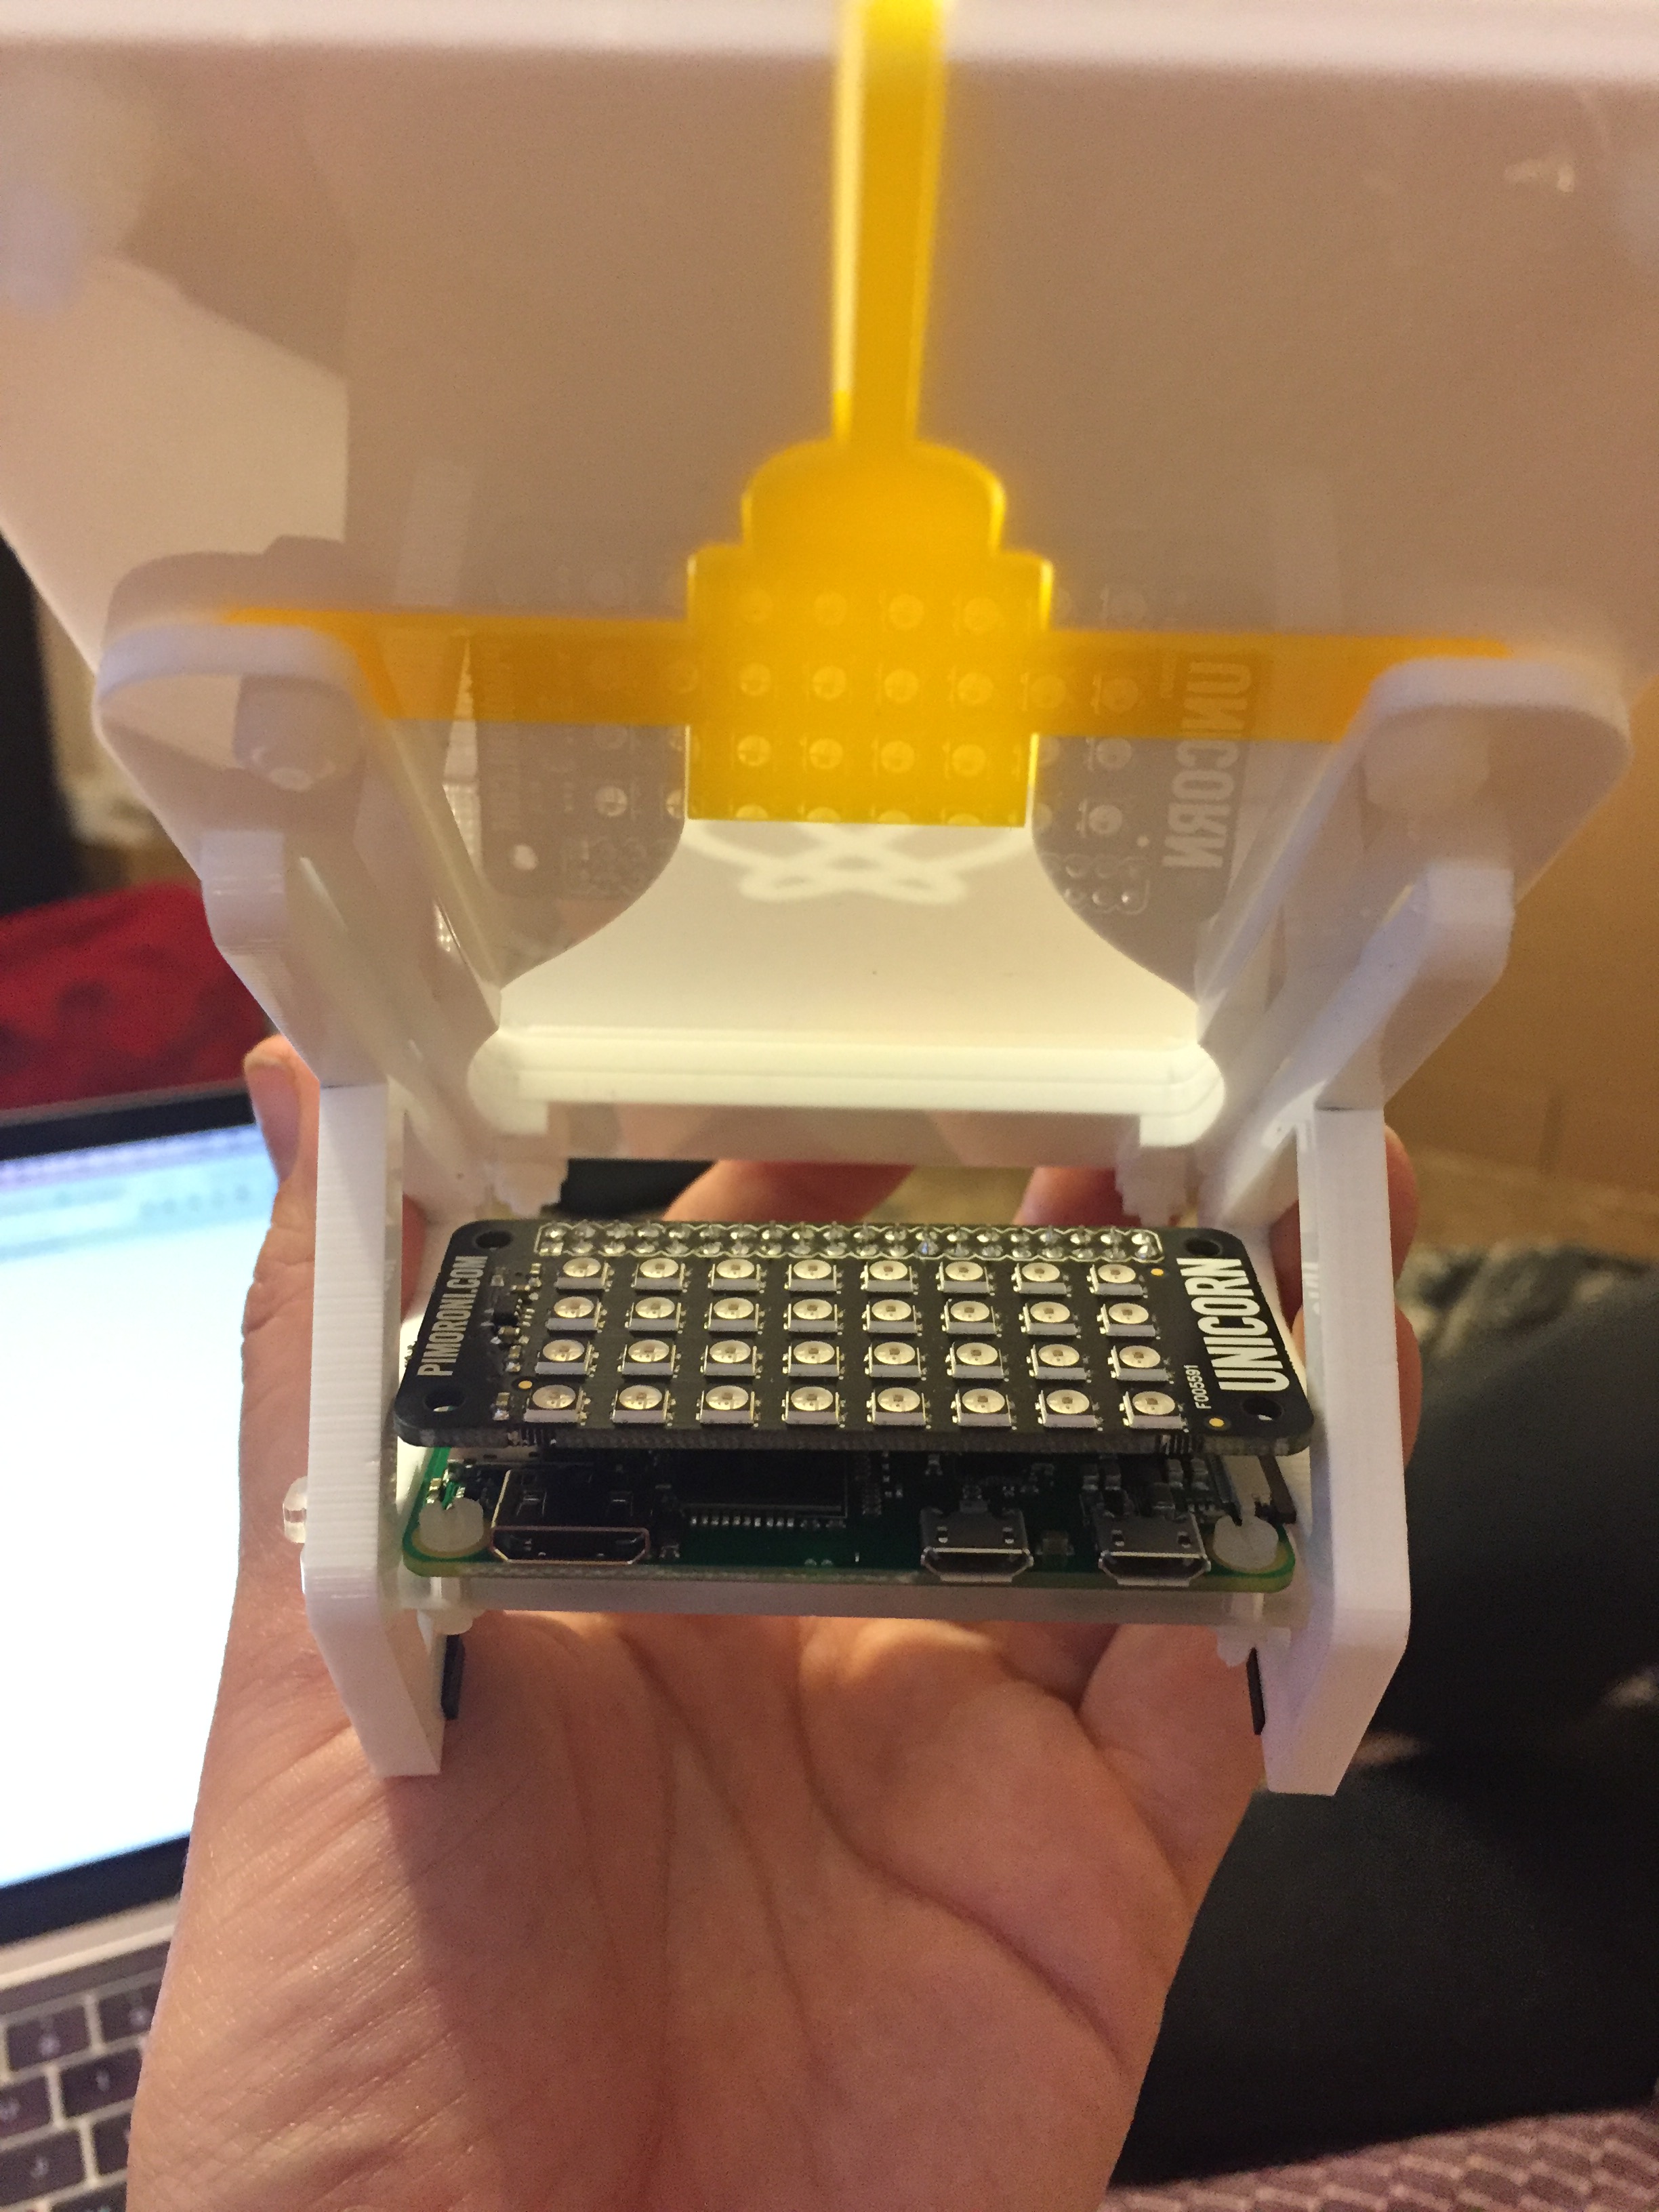
Louise was confused by the how the pieces went together, but we quickly found the tutorial and before we knew it, it was all built and looking pretty, including our soldered Pi Zero W and Unicorn Phat header.
Thank goodness for Stuart’s ridiculous amount of tools, as we were able to clip off the excess bolt length on the Pi Zero W mount.


So, now we’d built our Mood Lamp, it was time to run the code – I put a Raspbian SD card into my pi-top, transferred the Unicorn pHat to test it. We followed the instructions on the Pimoroni GitHub for the Unicorn pHat to download and install the relevant library and examples. I figured random_sparkles.py was probably a good place to start, but when I ran it through Python 3, nothing happened. Stuart to the rescue… he opened Terminal and used the command
cd /home/pi/Pimoroni/unicornhat/examples
To access the directory and then used
sudo ./random_sparkles.py
to get the code running – this frustrated me a little bit as I wouldn’t really have known to do that without his help. I know to run code through Idle, but I wouldn’t think to use Terminal and sudo without him telling me to – especially ./ which I’ve never seen before.
Next step was to get the code to run on start up – again I had a few problems with that, I followed this great guide from Les Pounder, but managed to accidentally leave the last line of the code as a comment with a # at the beginning – a little frustrating, but entirely my fault. We also discovered that again we need to use ‘sudo’ to get the code to run on start up, this time within the crontab settings (whatever that might mean).
So, we got the random sparkles up and running on start up and decided to transfer the SD card and Unicorn pHat into the Pi Zero W and get the mood lamp up and running. Unfortunately, we had no luck and I began to worry that I’d soldered everything wrong. Stuart sat and used VNC to check the pi was working and as far as we could see, everything was running as it should, but no random sparkles. Stuart decided to pull the Pi Zero out completely to check nothing had come loose and this point he threw his hands in disgust and gave it to me… it seems when I’d put the pHat back on the Pi, I’d not mounted it in the right place, it was just on the front row of pins and not on all 40 pins! What a wally!
I have to admit to finding this a little more stressful than I’d hoped, especially with the whole ‘sudo’ thing, and I have absolutely no idea where to start with connecting it to Twitter, but I’m glad I’ve got it built and it does look kind of cool. I think I’d like to use one of the other samples as the random_sparkles was a bit too quick for my liking, but that means going back into Crontab and putting all the bits back into the pi-top and I’m not sure I have the energy for that right now!
So, it’s an easy to put together kit, I just don’t feel like I’m quite confident enough with running code on start up or what to do when things don’t work first time!
At least Louise and I can both say that we know how to solder now, anyway!

One thought on “Pimoroni Mood lamp”