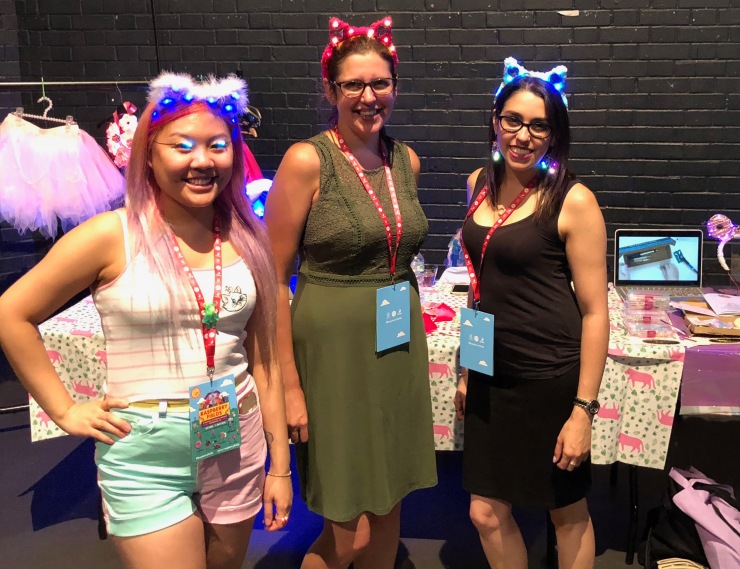
 In my last blog post, I wrote about some contemporary inspirational role models that could help to encourage more teenage girls to get involved with STEAM subjects. One of the people I talked about in the post was scientist Rachel AKA KonichiwaKitty.
Earlier this month, Rachel announced that she was launching a learn-to-solder kit on her Etsy page to accompany the many exciting and attractive wearables and glitzy bits n piece that she already sells.
Rachel set up a market place stall at Raspberry Fields, the Raspberry Pi summer festival and I managed to get my hands on one of her early pre-release kits.

I first met Rachel over a year ago at Wimbledon Jam and it’s been lovely to see her journey from inquisitive maker to workshop leader and saleswoman extraordinaire and it now feels like it wouldn’t be a tech event without twinkly eyelashes and pink hair in attendance.
So, as promised, I took the time to build my kitty ears and wanted to write an honest review so you guys can decide whether you want to give the kitty ears a go yourself.
First lets talk about the packaging – the box is simple, but Rachel has taken the time to design a selection of pastel coloured stickers. She has a brand and you can be sure that she will always be on it. From the love-heart shaped letter o in her font of choice, to the pastel pinks that adorn everything in sight, you know when something is part of KonichiwaKitty’s shop.

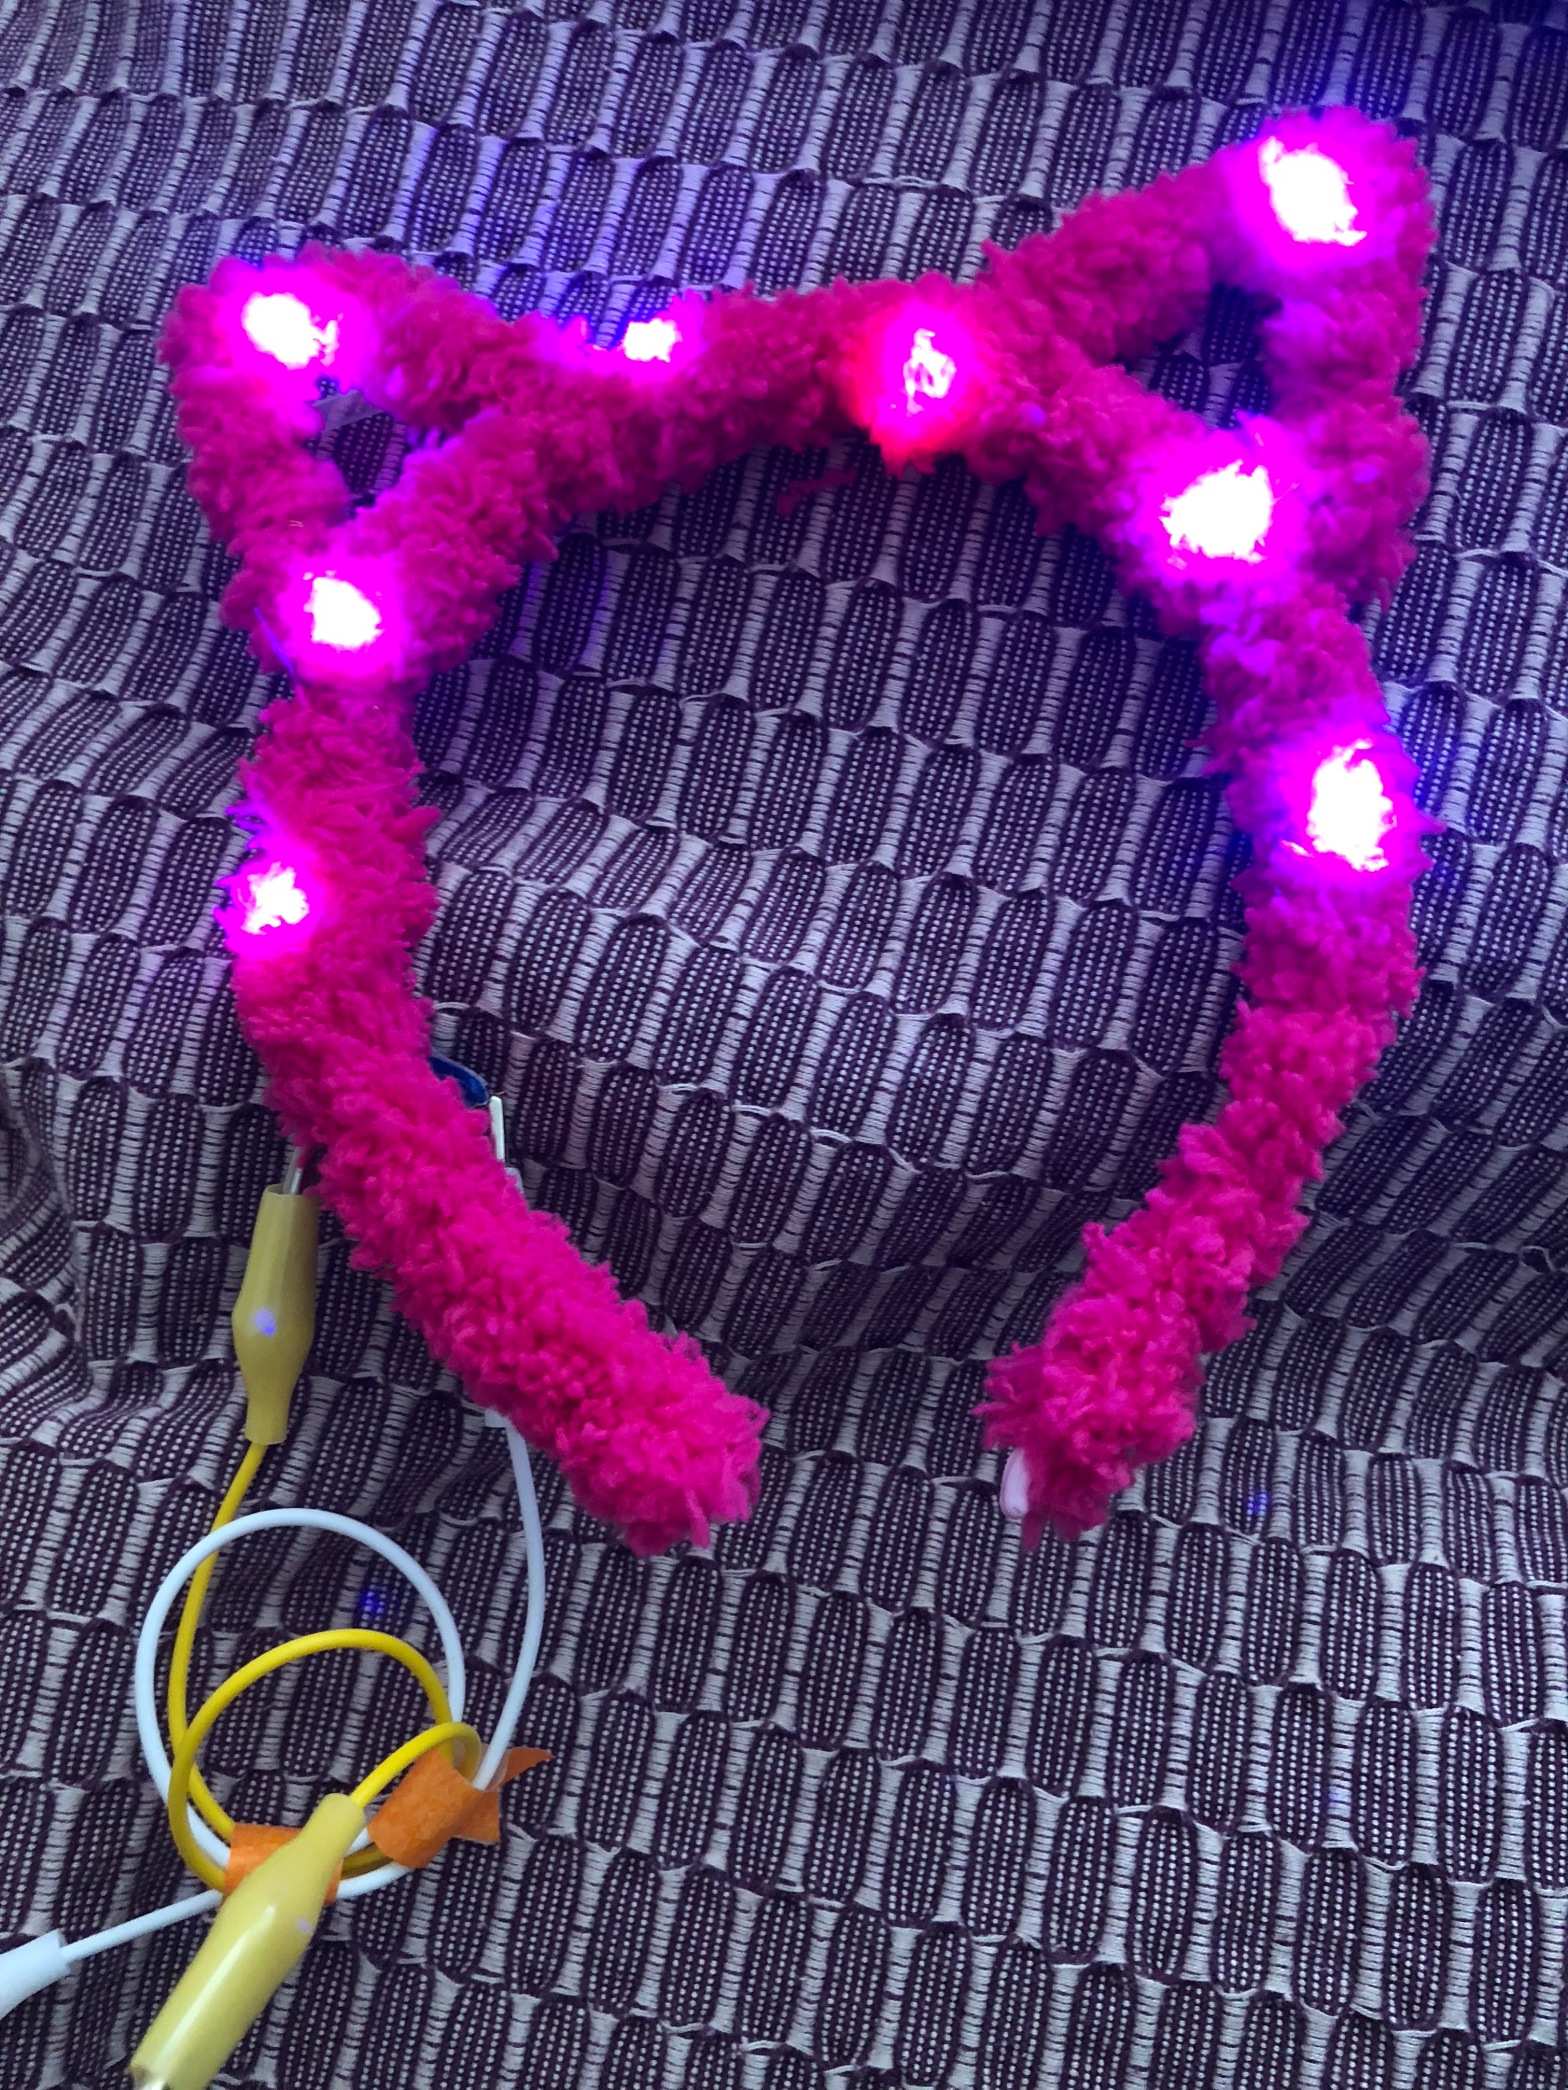
Before I bought the kit, I was given a choice of both LEDs and ear fluff (I believe the technical term is Fluffy Yarn). After much deliberation, I went for bright pink fluff and blue LEDs because… why not?!
Opening up the box, I was pleasantly surprised to find all of the materials neatly laid out plus a list of materials and an instruction manual. I’d begun to think Rachel had thought of everything!

My first job was to check that all of the equipment was in the box and luckily for me, it was – I did have a moment of doubt when I saw “cobochon embellishment x 2′ on the list, but by a process of elimination, I realised this must refer to the cool plastic shapes that can be stuck on the ears after the crafting! My sense of OCD would have preferred two the same, but I can’t really complain about a cool unicorn and star to stick on afterwards!

In the instruction manual itself, Rachel has taken the time to explain all of the equipment in the box so that a novice can understand a little about what it’s for. For me, this is a really valuable step, especially as the kit includes heat shrink, which many people may not even know about, but that is an essential tool for electronics work. As a bonus treat, Rachel has also included stickers in the box and who doesn’t like stickers?
The next page of the instruction booklet explains what other tools that you might need for crafting your headband which basically lists the tools need for soldering. I would like to see ‘strong glue’ added to the list because I really found that to be valuable (more on that later).
Amazingly, she has even taken the time to film a video tutorial and so by age 8 of the booklet, I really began to get a feel for the amount of effort that has gone into this kit.
 So, now onto the actual crafting side of things – some of you may already know that I’m quite clumsy, however, I did find it quite theraputic slowly wrapping the fluff around the band. I started to worry that I might run out of yarn before I was done, but I needn’t have since I currently still have a huge chunk of it left. If you do decide to give this a go, you might want to bear in mind that you can be as generous as you want with the yarn since there is plenty in the box.

The instructions suggested that you might want to use a bit of glue to keep the ends of the yarn steady, and I tried my hardest to just hold it together with a knot, but within a few minutes of trying to wrap the yarn around the ear section, the main bit of the headband had started to unravel so I headed off into the kitchen to find the UHU. Having super strong glue lying around the house does have its advantages sometimes (thanks Stuart).

In the instructions, Rachel suggests doing one ear, cutting the yarn and doing the other, but I’m afraid laziness prevailed and I just wrapped the yarn around the midsection for a second time and carried straight on to the other ear after starting the first… It seemed to work ok and I still had plenty of yarn leftover.
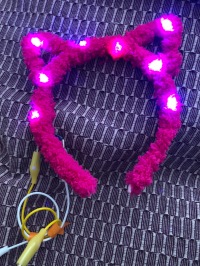
The next step was to position the lights and check they work, as well as figure out which of the two cables was positive or negative. I’m afraid I once again ignored the instructions for this point which suggested placing the lights and then using a crocodile clip to test their polarity and instead I attached the battery pack first in order to position the lights because it was much easier to figure out where I wanted them to go while they were lit up. I admit, it was a bit more of a faff because I had to first attach the battery to the left hand side so I could wrap the LEDs on the right and then attach the battery on the right so I could attach the battery on the left, but it meant I was happier with the positioning then if I’d just guessed and then switched them on.

The LED strip that has been provided with the kit has two cables which are attached to the LEDs in a parallel circuit. One of the two cables is attached to the positive side of the LEDs and the other to the negative. The battery can be attached to either end of the cables because the LEDs themselves complete the circuit, but you need to figure which cable is which in order to attach the battery correctly. In the instructions it is explained that the cable is coated in plastic to prevent short circuits, except for the very ends, which have been stripped ready to solder.
The instructions suggested marking which cable is positive by cutting it shorter and stripping the plastic layer off, but I preferred to just reuse some of the masking tape from the box to put a mark on the one I needed to remember, which saved me getting into a mess with cable cutters and stripping things!
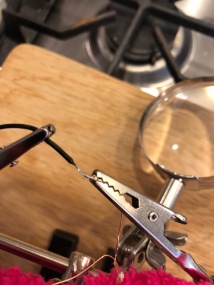
I’m lucky that in our cupboard is a third hand to help out with soldering and I think that I would’ve found this task significantly harder without it. First, I needed to clamp the battery pack and the cable I wanted then carefully line up the two cables before getting out the soldering iron and applying heat.


I have to admit, I found soldering the two wires together a little more tricky than my first foray into soldering which was the Learn to Solder Zoo Badge from the PiHut, but I eventually got both of my wires carefully soldered together. I think this is perhaps the weakest area of instruction, however, it’s quite hard to write down detailed instructions for how to solder for the first time so I’m not sure how this could be improved.
It was at this point that I suddenly wondered what would happen if I slipped and the soldering iron hit the fluff! I had visions of my kitchen bursting into pink fluffy flames and so I decided to test – The small offcut I pressed the soldering iron towards melted a little and didn’t particularly smell nice, but it seemed to be fairly good at handling the heat so that was a bit of a relief.

The final step was to apply a hairdryer to the heat shrink in order to seal the joins, which I took great pleasure in doing, although I think I was hoping it would shrink even more so was a little disappointed with the inner layer of shrink!

The final step was to try my ears on and take a picture for social media!

So, final thoughts. Firstly, a lot of thought has gone into this kit. It is clear and detailed in the instructions. Rachel has done a fantastic job in sourcing materials and writing a great instruction booklet. I haven’t watched the video, but I suspect it is equally excellent and detailed. I love that this brings together crafting and electronics in a fun and creative way and I enjoyed trying out new skills.
But… I wouldn’t recommend this for the very first time soldering, for someone clumsy like me, I think it requires a little more finesse then a first timer can manage. I would suggest getting a learn to solder zoo kit first to make a mess and blob everywhere before graduating onto something a little more complex – for me, soldering wires together was the first time I found soldering to be a bit of a challenge as it was a bit more fiddley than anything I’ve done before.
Overall though, I really love this kit and think Rachel should be incredibly proud of what she has achieved. I can’t wait for my biggest niece to be a little bit older so that she can learn to solder with one of these kits too! I think she’d absolutely love it!
One final note, I made the kitty ears last week but haven’t had a chance to blog because I’ve been involved in a production of A Midsummer Night’s Dream. The very same day that I made the kitty ears, the battery pack fell off some LEDs in Titania’s wings (yes, the queen of the fairies had lit up wings)… guess who ended up bringing a soldering iron to the theatre to fix the wings?
It’s a funny old world isn’t it?


What an adorable review!
LikeLike