Last weekend I went to CamJam and I was very impressed with some small soldering kits that Hannah Mills had bought from The PiHut called Learn to Solder Zoo Badge. I was absolutely gutted that they had already sold out, but fortunately they had plenty in stock on their website. At only £2 each I quickly ordered 4 different badges and eagerly awaited their arrival; the kits come in a variety of designs: Llama, Panda, Lion, Bunny, Sheep and Giraffe. Once I had my hands on them, I planned to spend an hour or two learning to solder, but it turned out that I really didn’t need that long at all!
So let’s start off with what’s inside the kit:
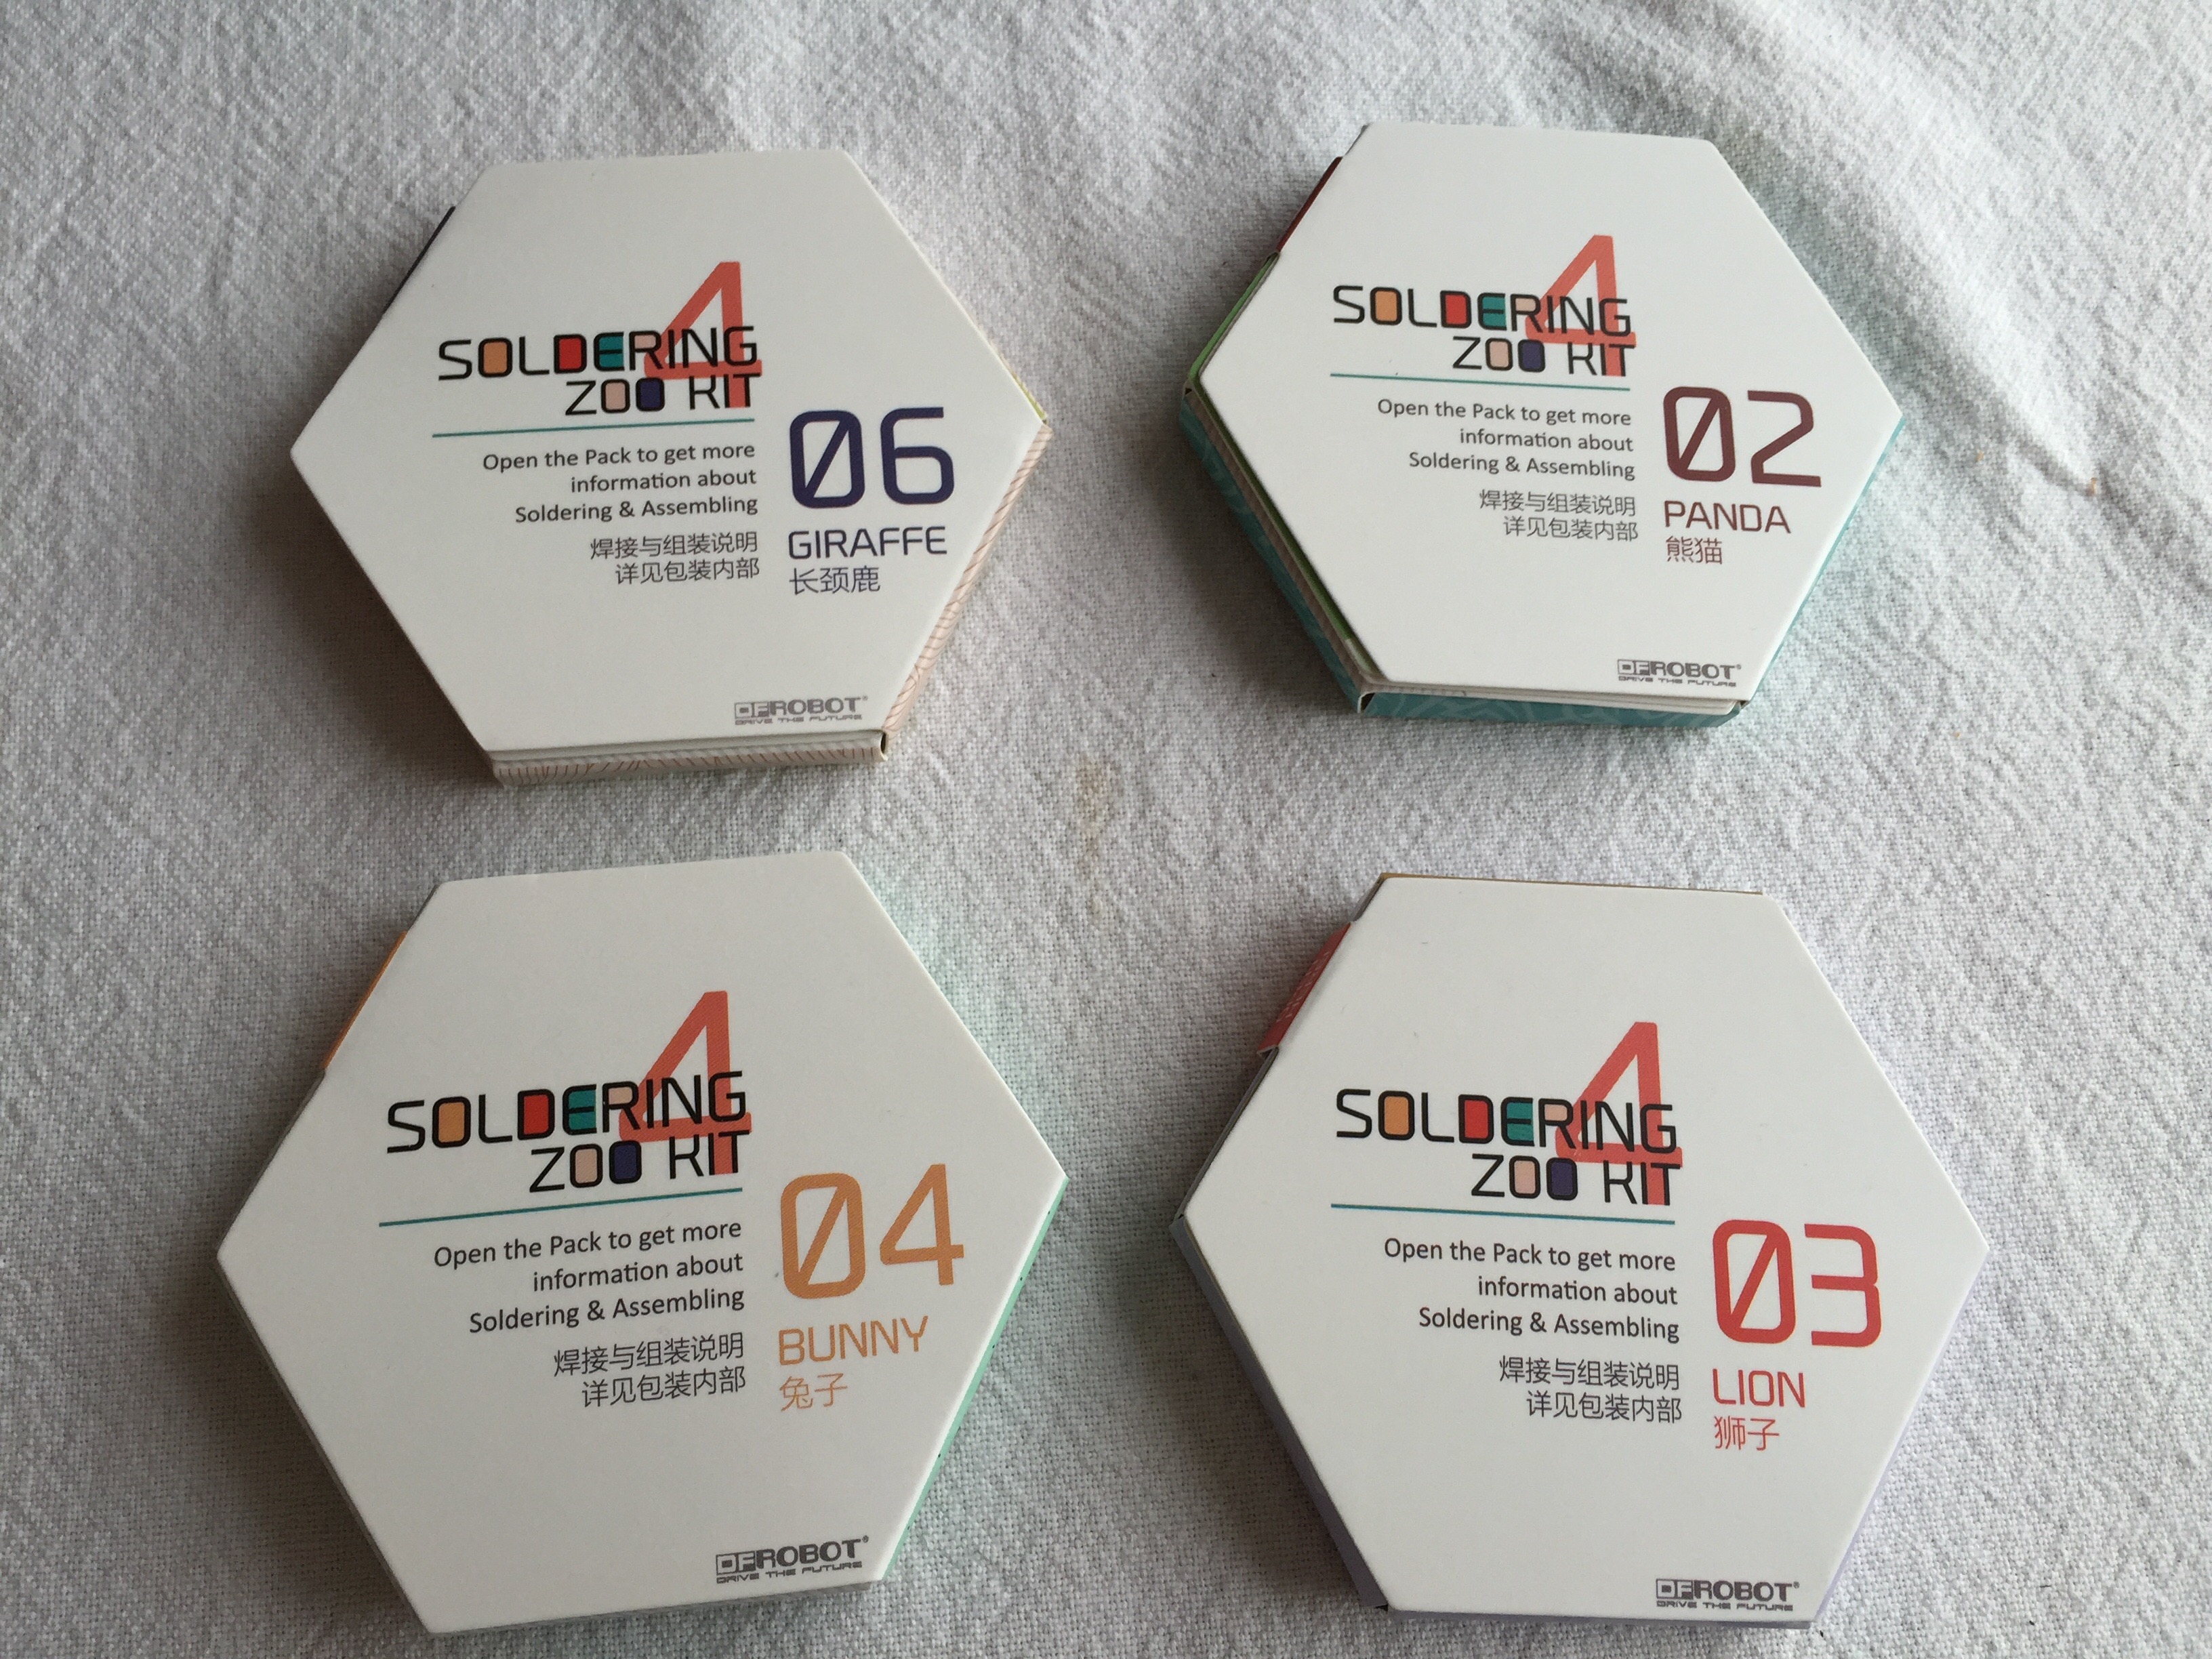


You will see that the kits come in a small hexagonal package which will fit easily into the palm of your hand. the kit is designed to cut and fold into a display case for your badge, which is a nice touch and the instructions are entirely graphical with very few words.
I’m pretty lucky to have a soldering geek at home to help me so he talked me through how to solder.
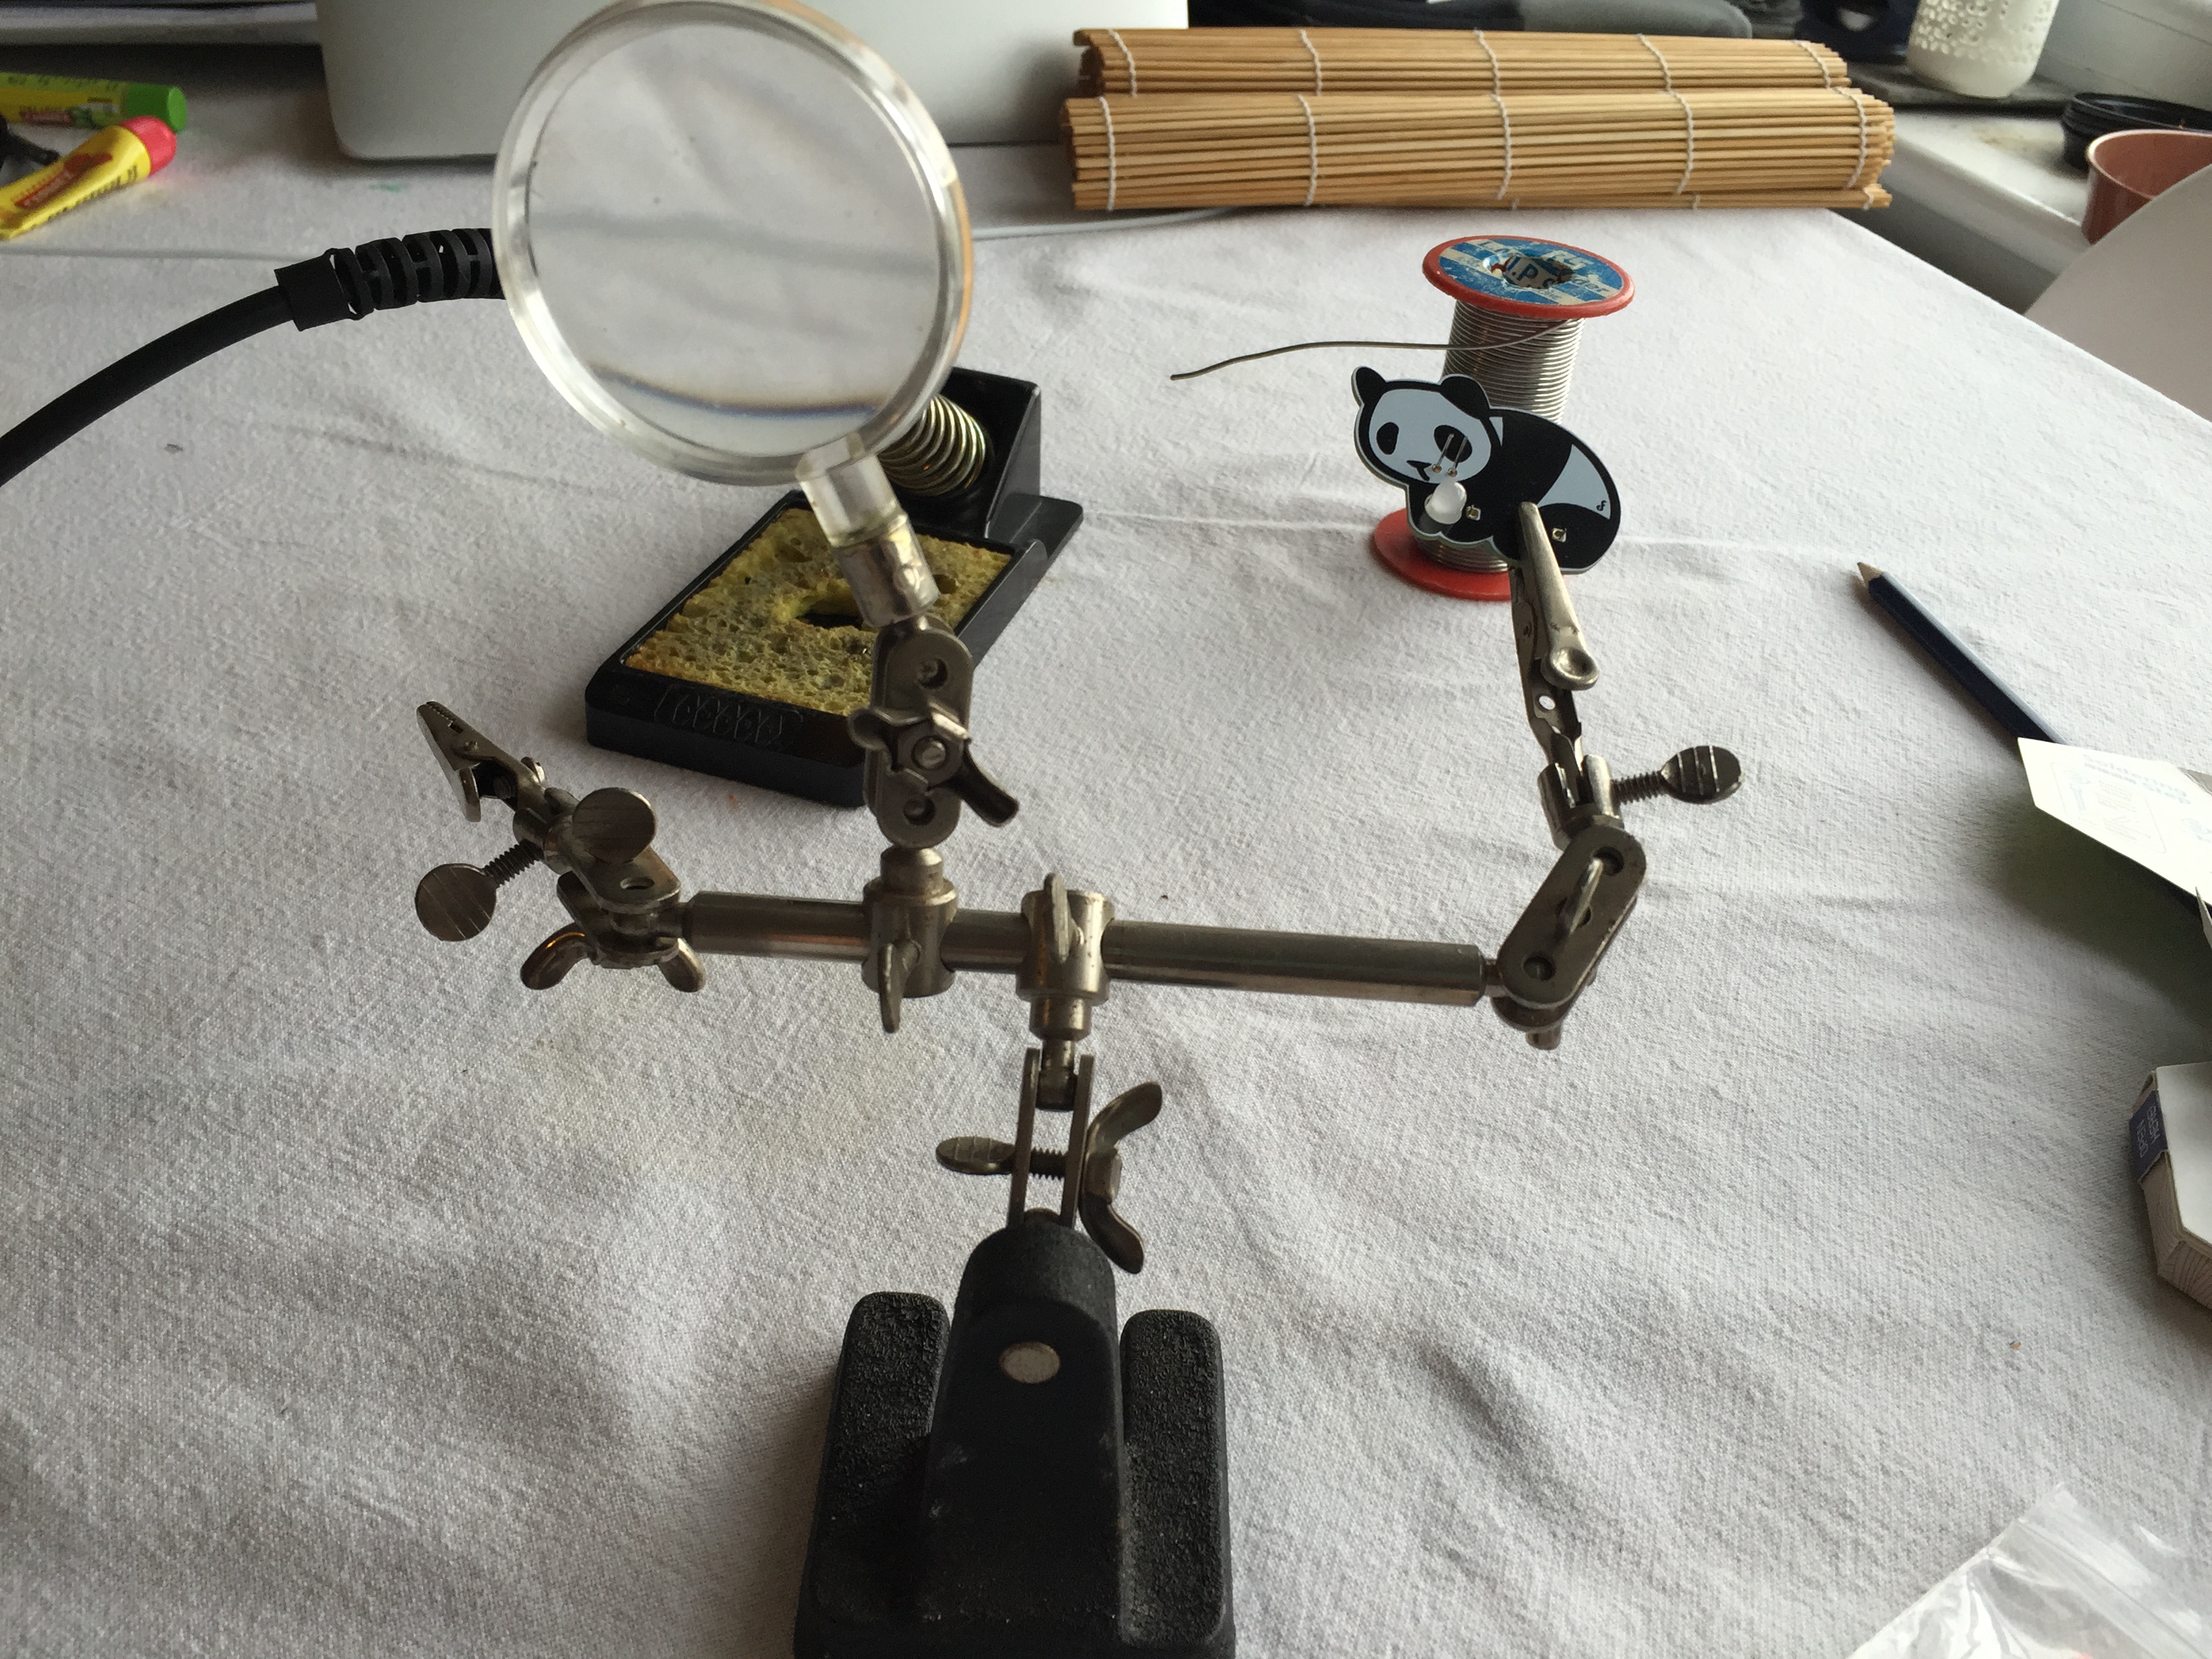
Before starting, Stuart talked me through all of his kit for soldering – he suggested that the bear essentials that you need are a soldering iron, some solder and a stand: The sponge needs to be a little damp before you start and, once the iron is hot, this can be used to clean off excess solder.
Super solderer Stuart also suggest getting a stand for whatever you’re soldering – he says his was about £5 from eBay and he quite rightly points out that this would make soldering easier and safer in schools, but that’s up to you to decide.
 Before starting to solder, Stuart showed me the importance of the damp sponge – you can see in the first of these two pictures that the soldering iron is pretty mucky looking, but simply by touching it on the sponge while hot, it becomes clean. He also demonstrated how you can tell that the soldering iron was hot enough – simply by touching the end of the solder to the iron and seeing if it melts. *HEALTH AND SAFETY TIP* when there is melted solder on the end of your iron, it’s very easy to ‘flick’ it off, which is, of course, very dangerous and likely to cause burns – make sure you demonstrate this to children and explain why it’s a bad idea and why you must make sure that you wipe of excess solder onto the sponge!


At this point I was all ready to go, but Stuart once again had a good idea, he suggested having a go at a bit of soldering on some old cable and disappeared into a nearby cupboard, returning with this:
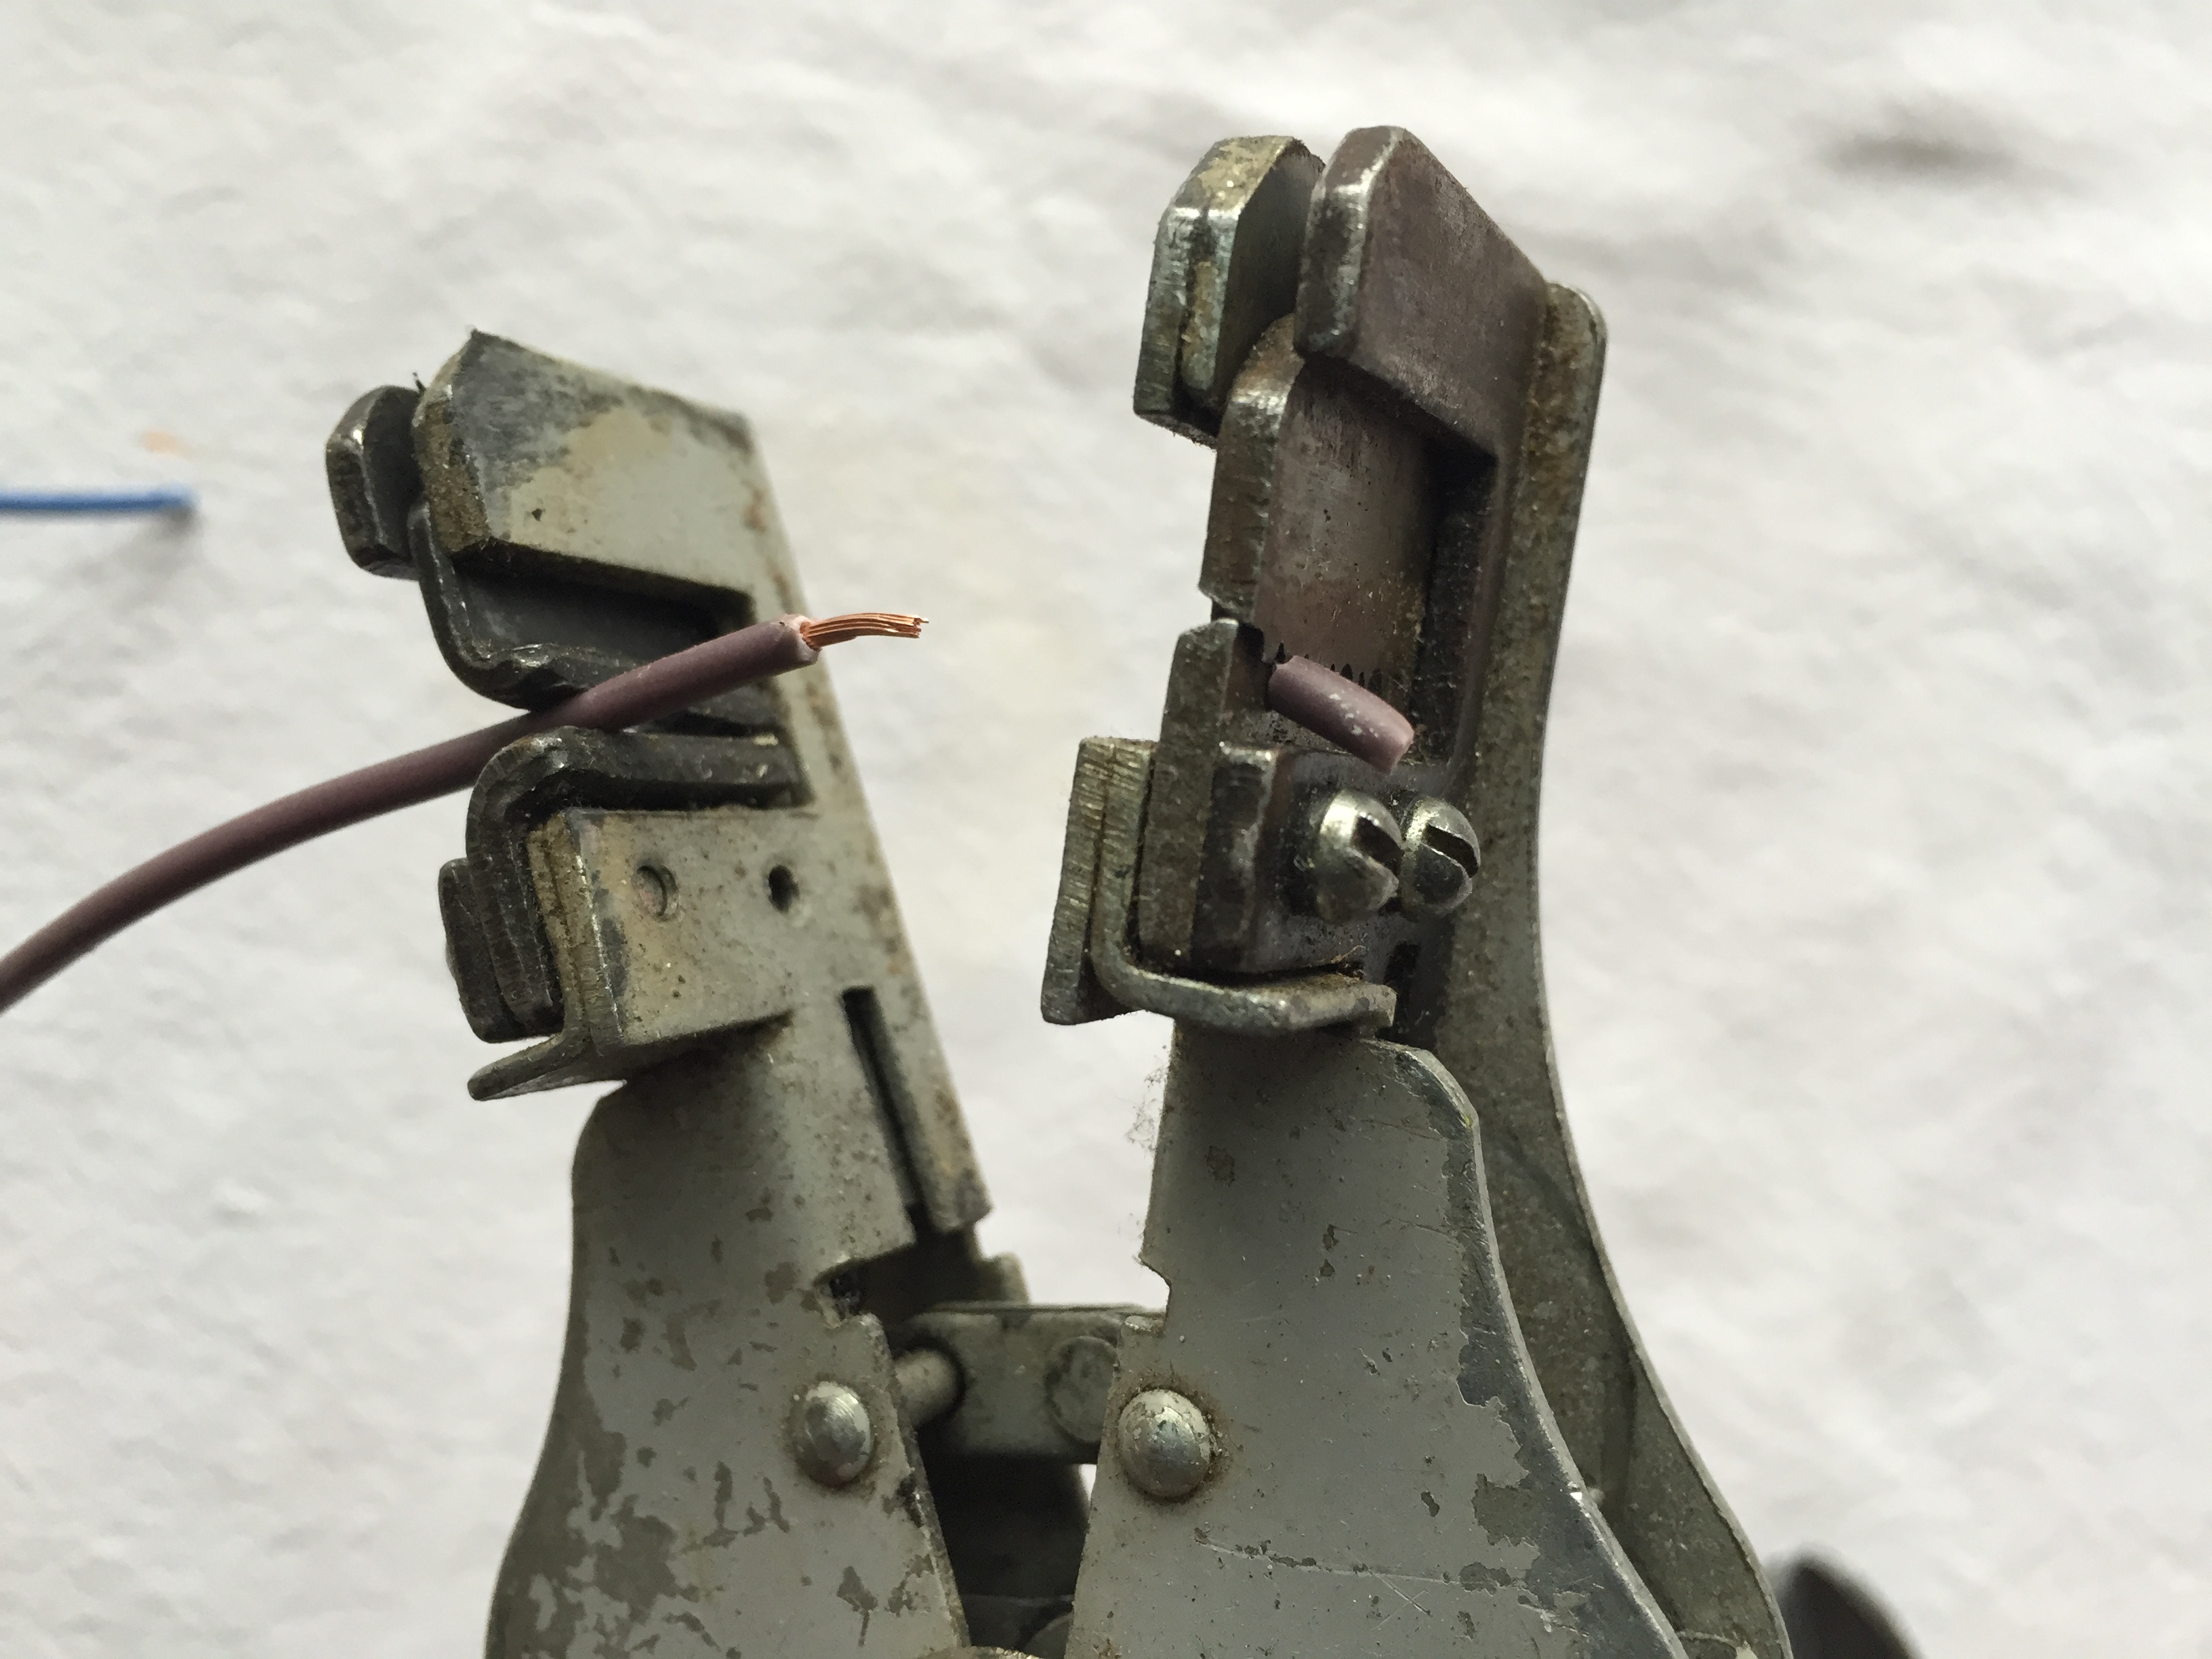
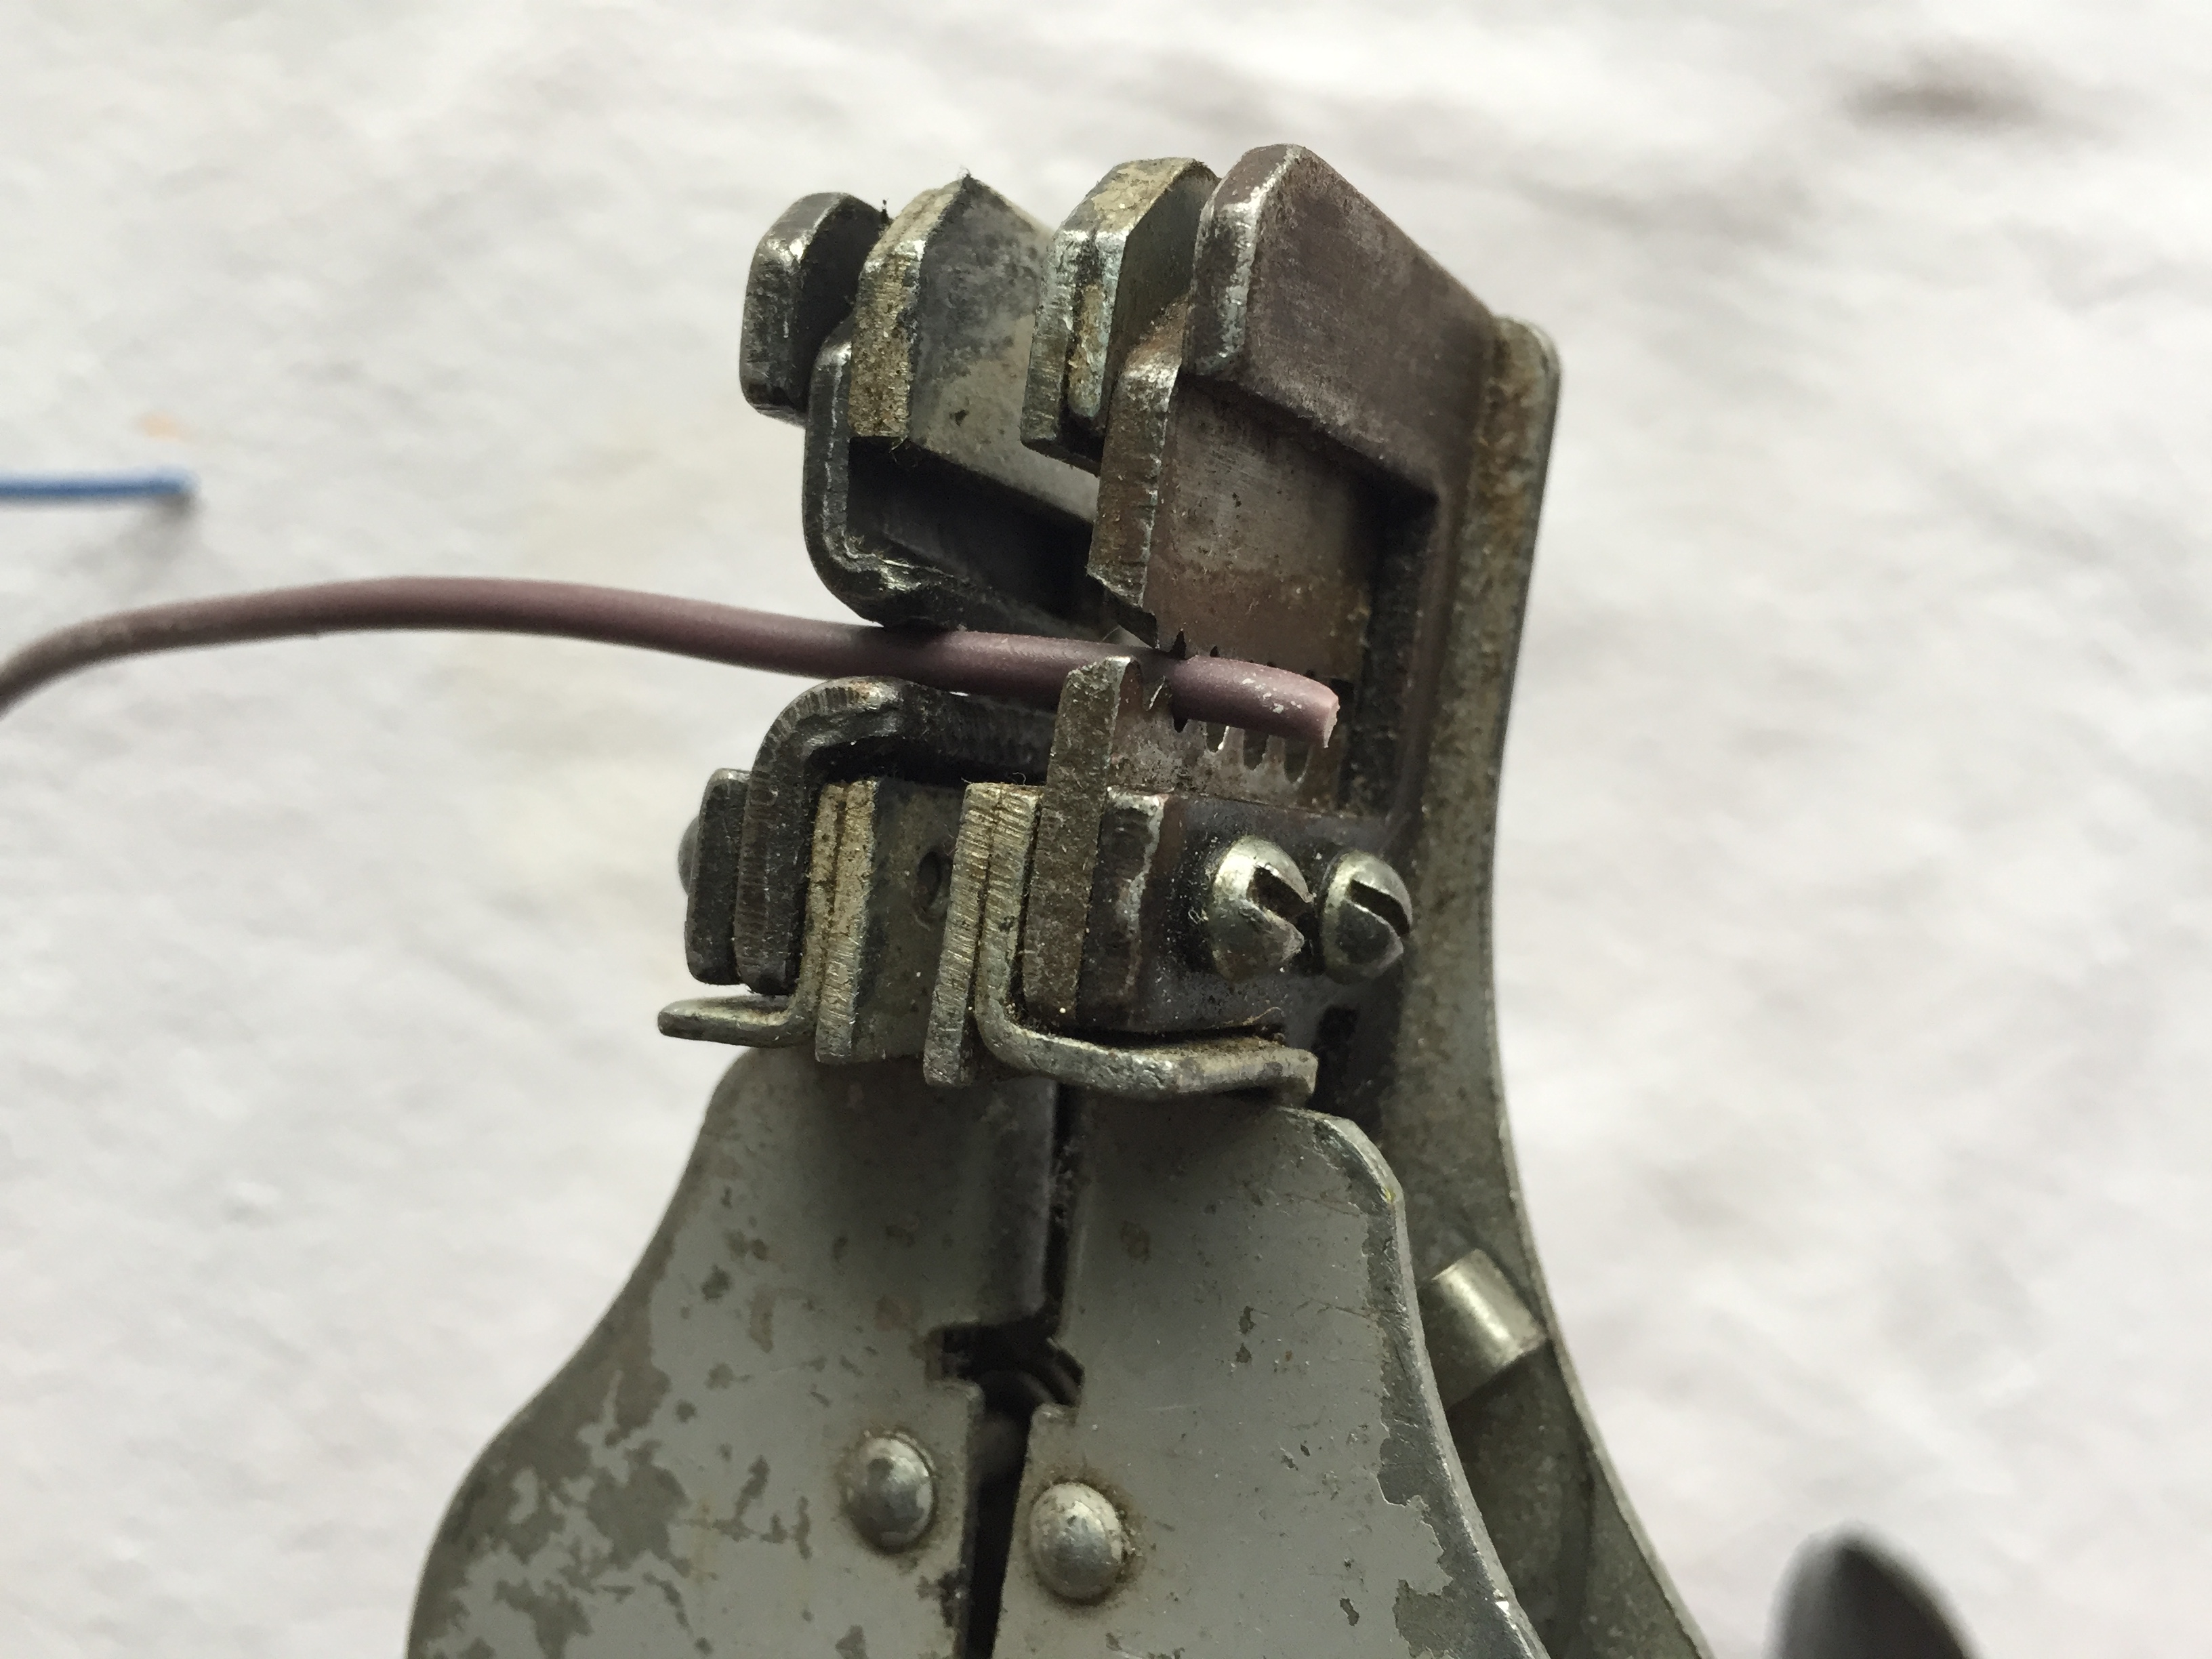
 He promptly stripped the end of an old European plug cable that he just happened to have in the cupboard and used a wire stripper to reveal the wires inside.


First I had to twist two of the newly revealed copper ends together, then have my first attempt at soldering – Stuart patiently explained that I needed to heat up the area I wanted to solder with the soldering iron before carefully feeding the solder onto the now hot copper – if it’s hot enough, the solder will melt and spread around the area. You shouldn’t need to touch the solder onto the soldering iron, the heat transference should be enough to melt the solder without the two coming into contact!
 So, my first bit of soldering done, we were ready to start looking at the badges – first step was to follow the instructions and carefully put the battery holder and LED into place. I was happy to just bend the LED to get it through the necessary holes, but once again, Stuart had a good idea and suggested using a pencil to carefully bend it and avoid breaking anything. It’s made really clear on the instructions how to insert the LED and which side of the LED is positive – the only thing that wasn’t clear was which way up to put the battery holder and I did have a moment of putting it on upside down and then having no clue about how it would stay in place (yes, I’m that stupid). Fortunately, once it was pointed out, it did make sense that it would sit upside down, slotted through the holes!
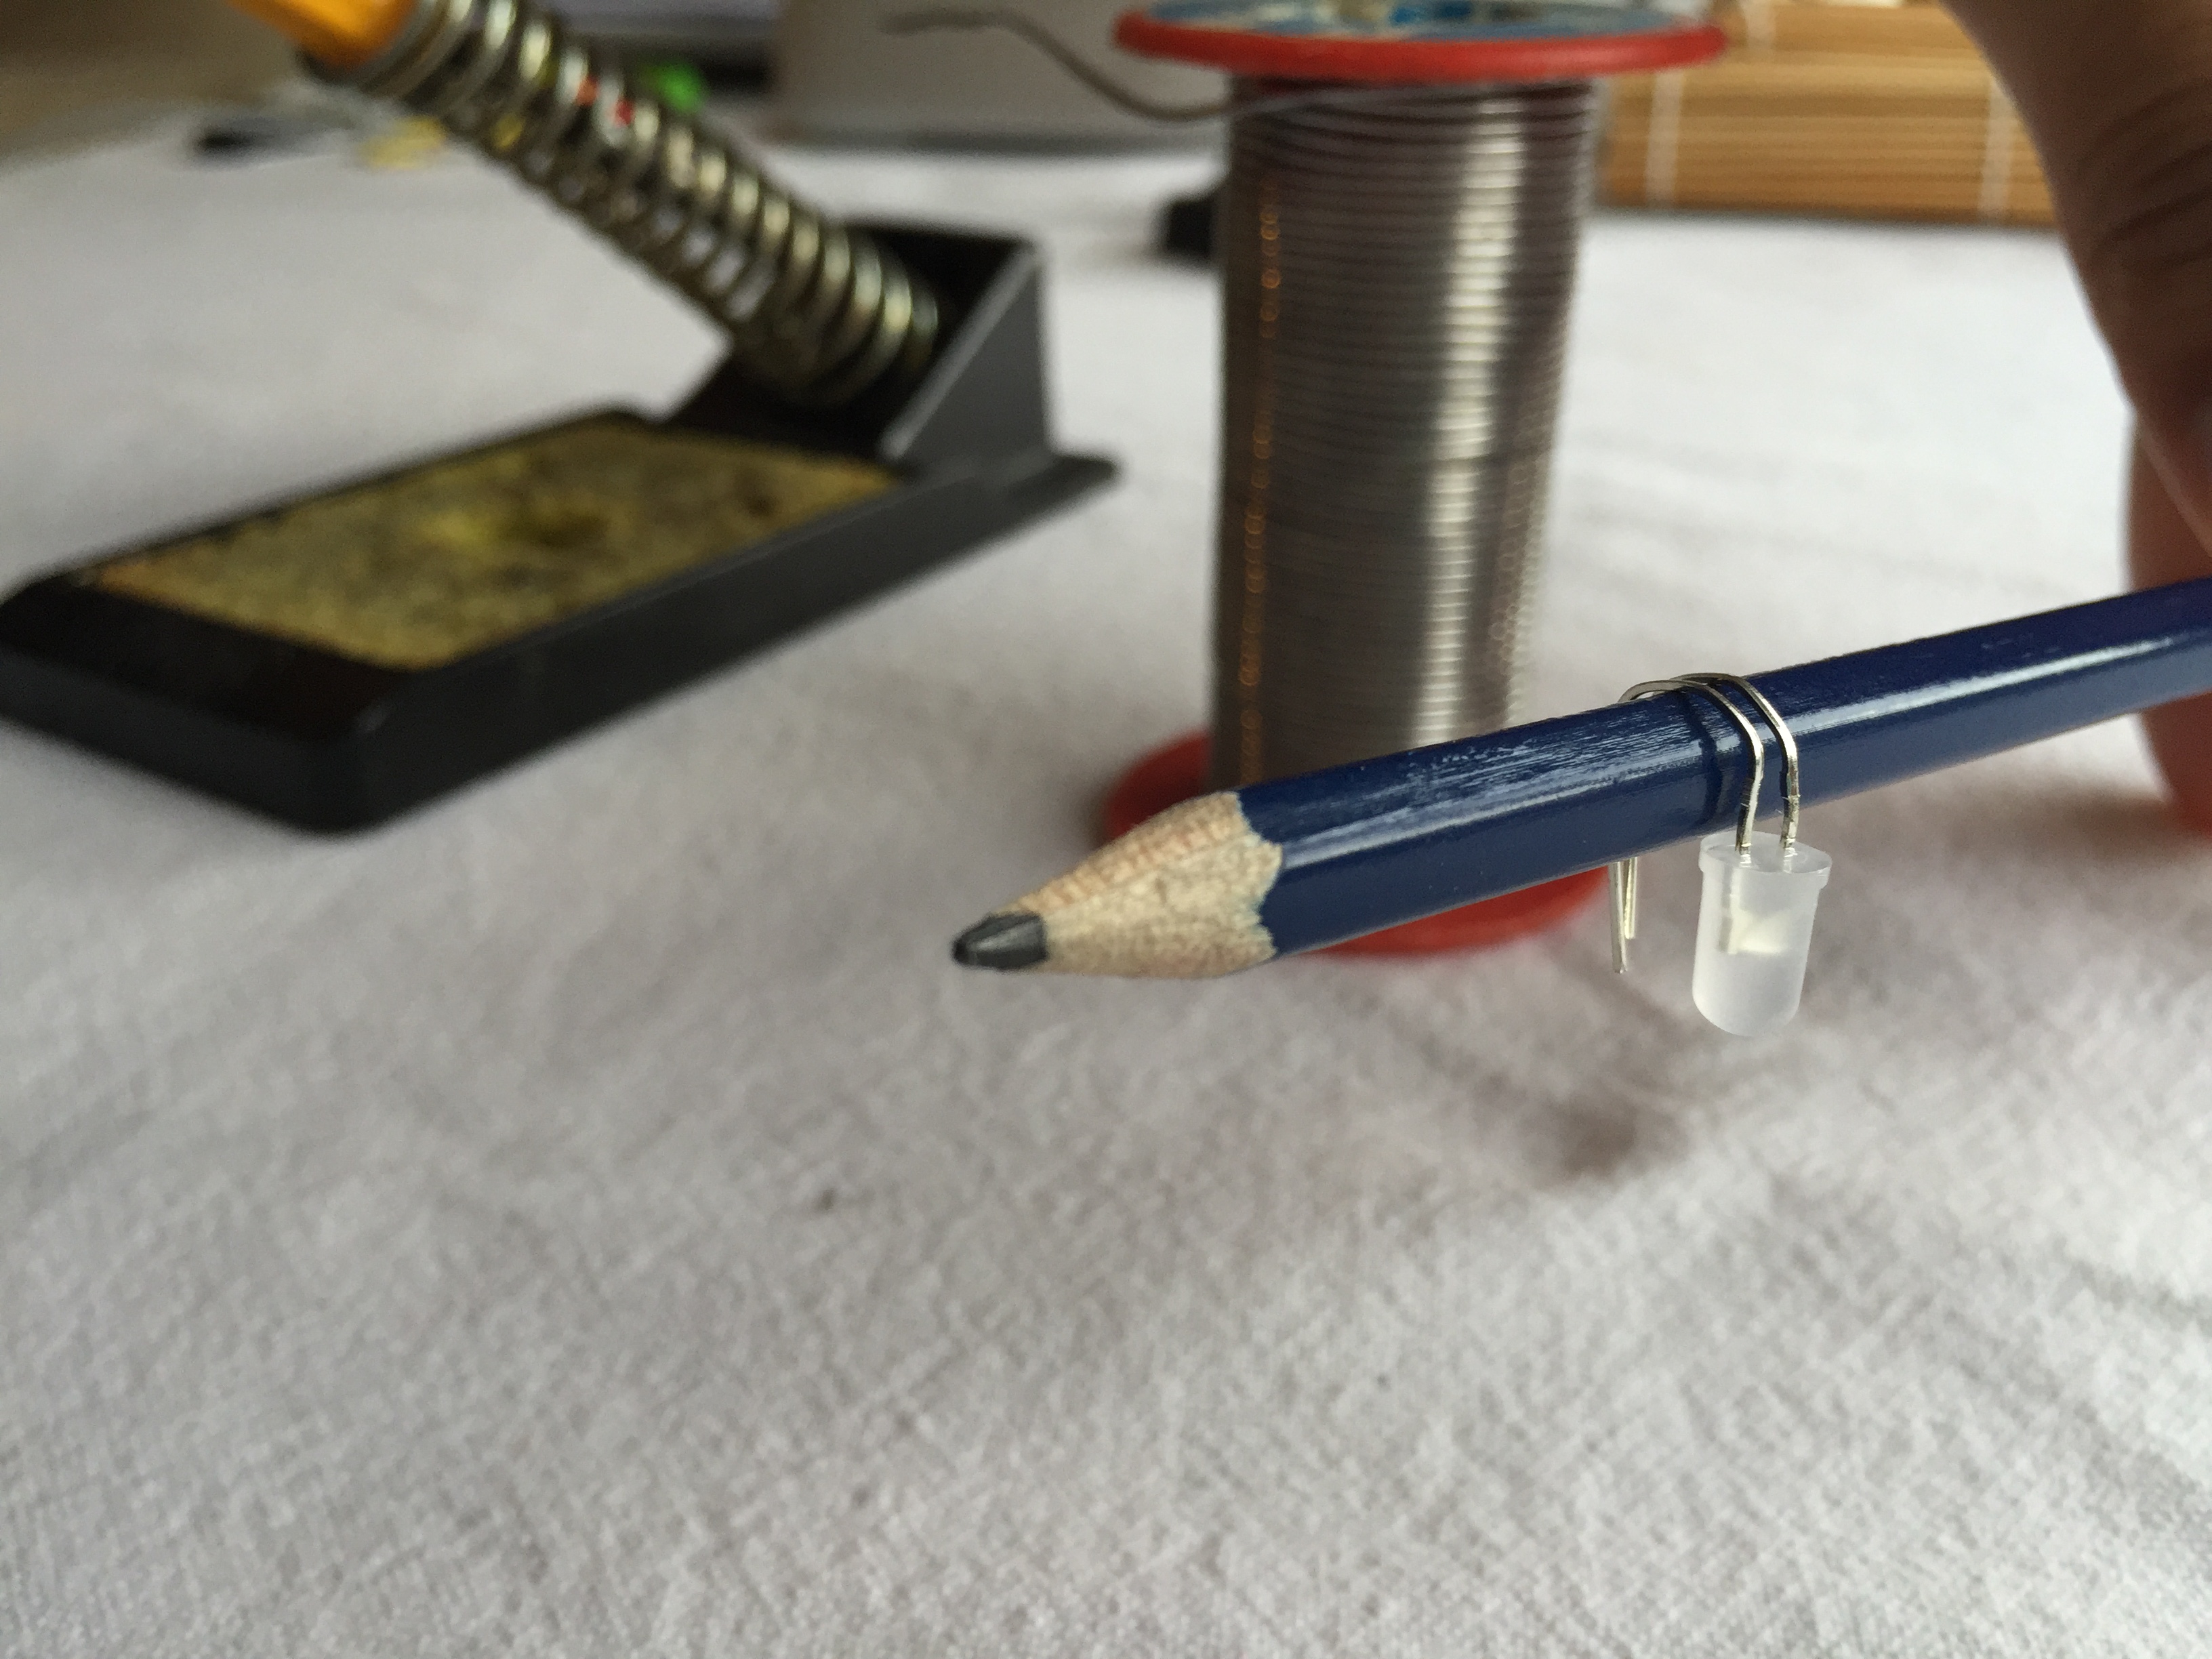
 With the two parts resting in the right place, I became really grateful for the stand as trying to solder without it might have been really tricky!
So, here you can see a short video of Stuart soldering the first of the LED pins:
And the finished result:
 I’m not going to lie – we were both pretty impressed by the material the badge was made from as it didn’t seem to mind being touched by the soldering iron – this is a nice touch for beginners as it’s likely they will make mistakes and it’s nice to know that you can’t cause to much cosmetic damage!
So, my turn!
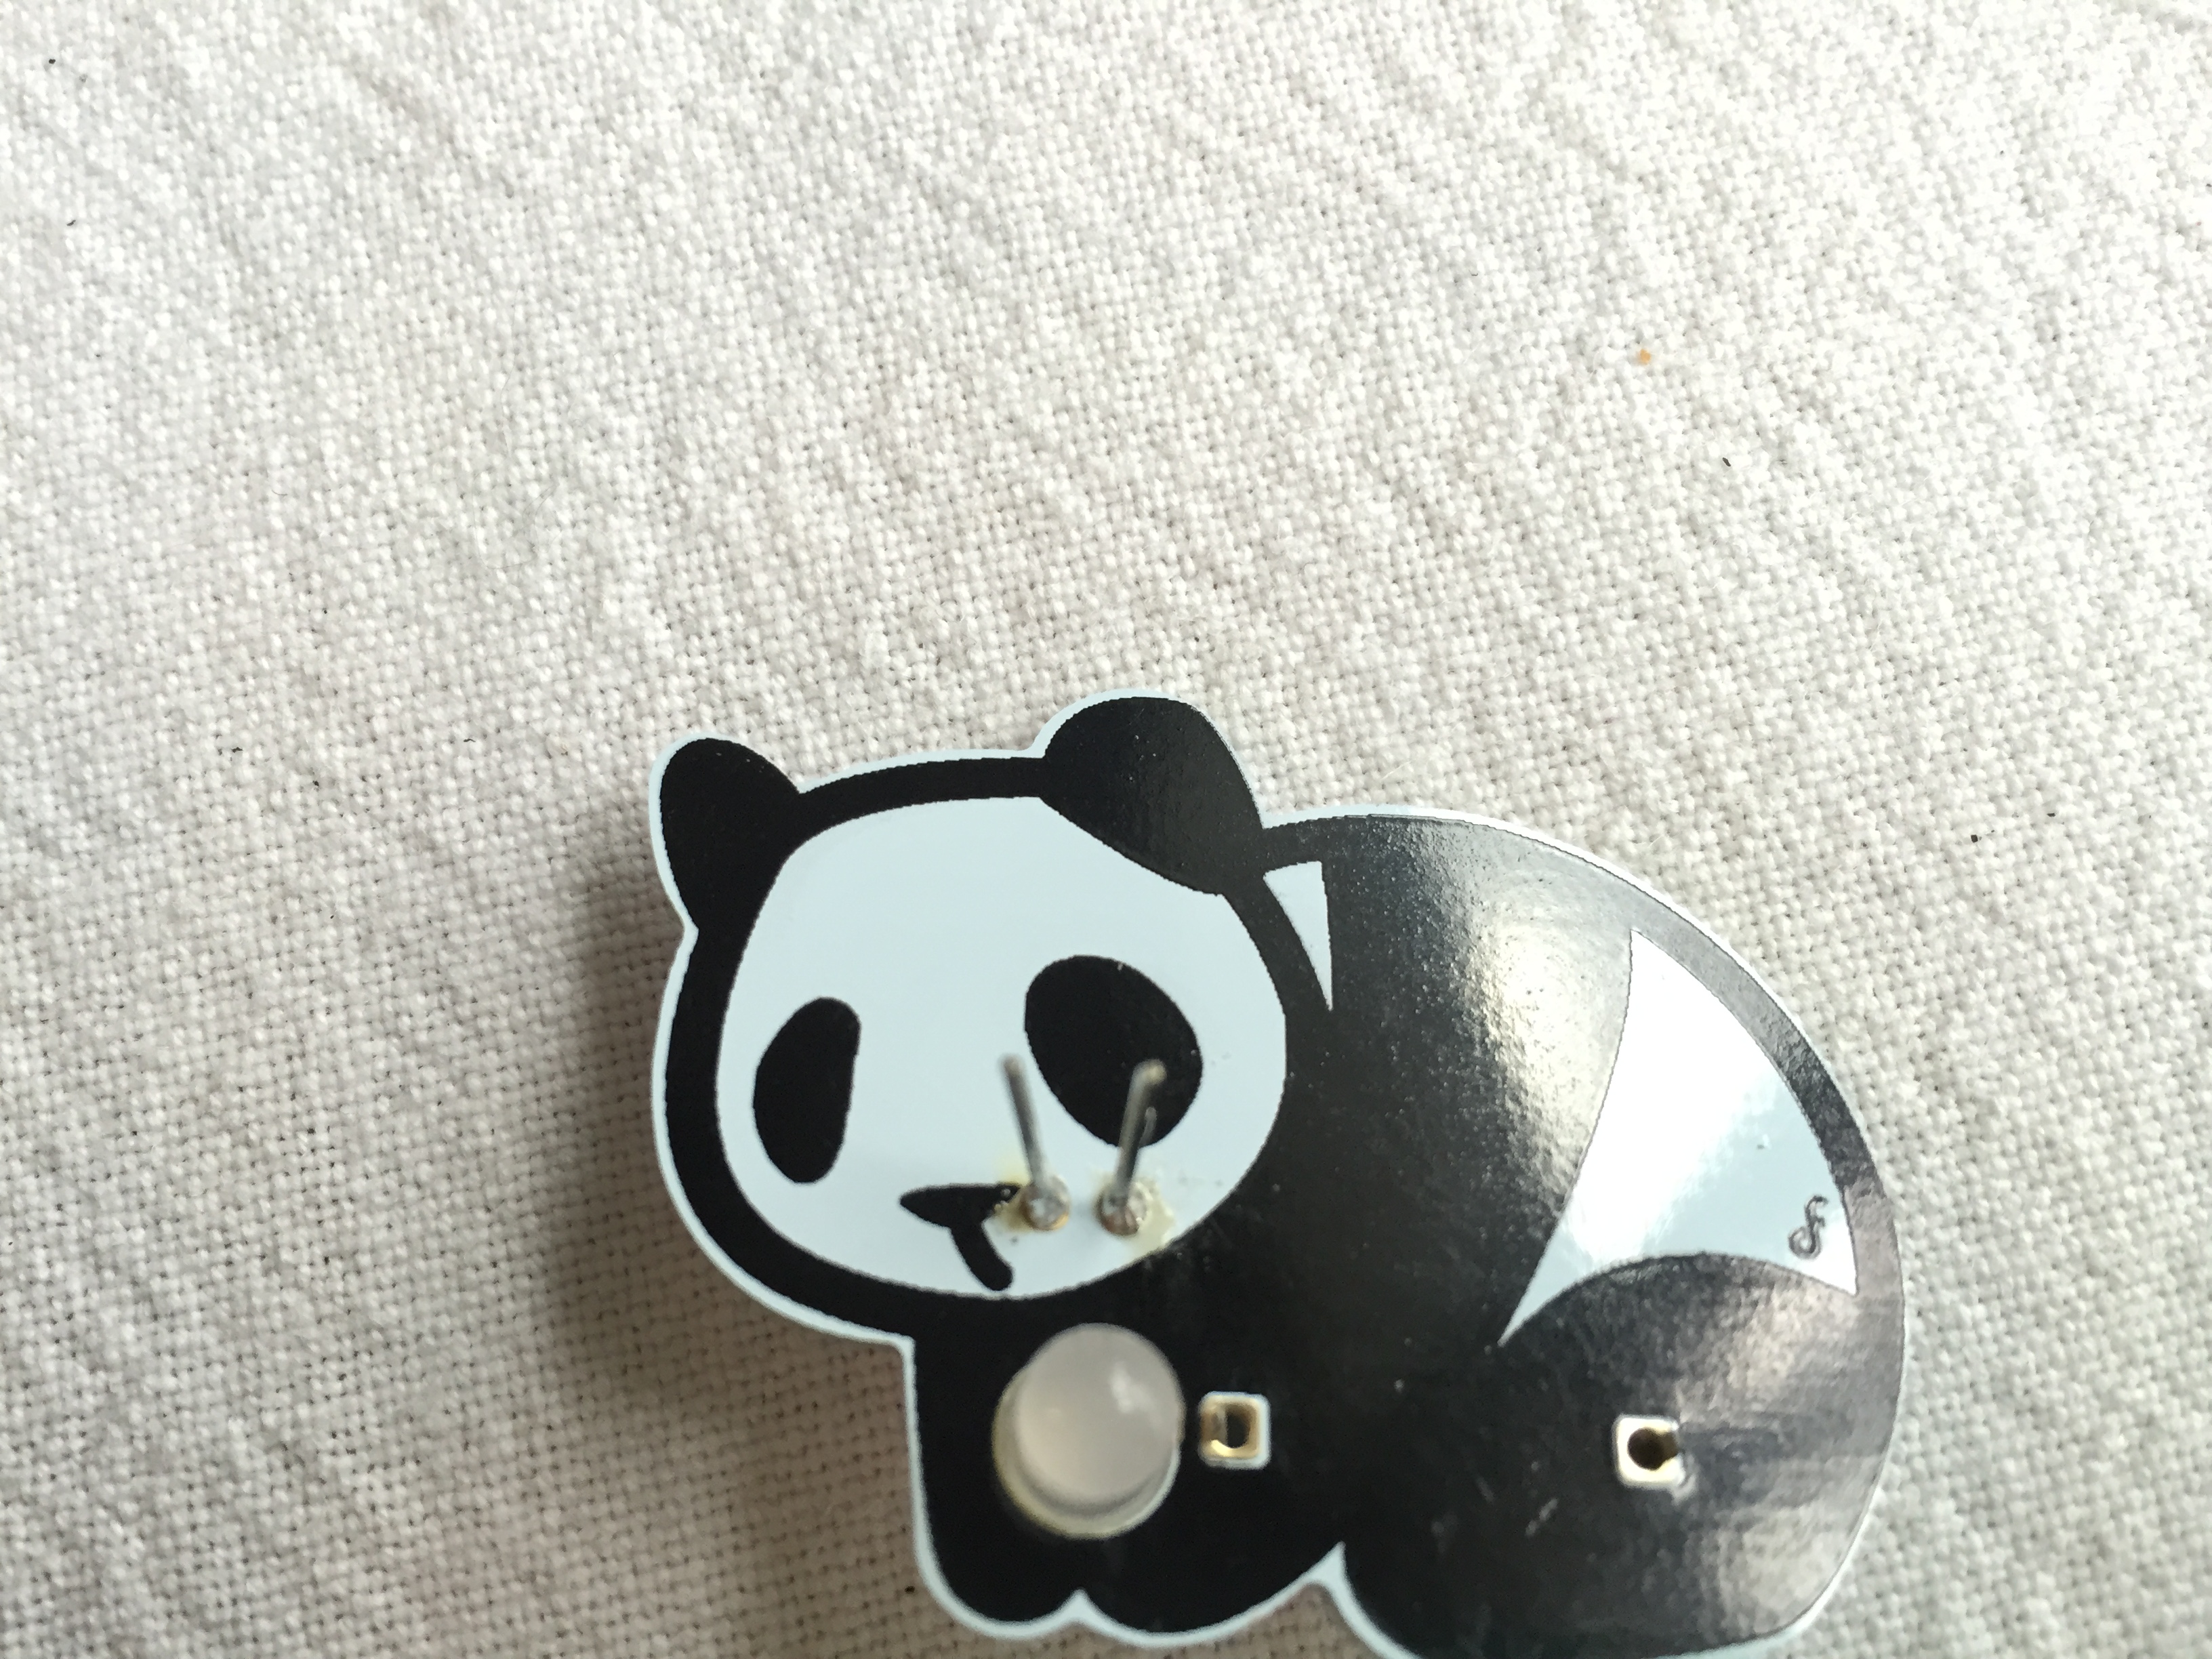
I found soldering the pin really scary because I kept thinking that I would short circuit it somehow, but as long as I stuck to carefully heating the LED pin and gently touching it with the solder, everything went to plan. I found out afterwards that if I’d put too much solder on, I could’ve damaged the LED, but everything looked fine and the solder had just slightly come through on the back, which was exactly what we wanted.
The next step was to solder the battery – once again, click here for a handy video of Stuart demonstrating how to solder it.
Unfortunately, that left me with the harder battery pin to solder and this time I really struggled – I was terrified of touching the LED with the soldering iron and found it really difficult to let the pin heat up and gently touch it with the solder, but eventually, after three attempts, I got it done:


After snipping off the excess length on the LED pins, I was ready for the final step, which was to solder on the badge pin – the instructions ask you to put solder onto a patch of the badge and then attach the pin by holding it in place and adding more solder, a process known as ‘tinning’. This time I was really able to see the solder rapidly melt onto the badge – while I held my soldering iron still, the melting solder spread quickly around it; it really did appear as though the badge was sucking the solder from the end of the roll!
Once again the stand made life really easy as I was able to clamp the badge in place in order to apply the last two bits of solder.


The final step in the badge creation was that nice touch I mentioned earlier – to create a display case for your badge! The kit even contains some double sided tape to stick it all together!


So, why is this particular kit useful?
Firstly, it offers you a stress free opportunity to learn to solder – it doesn’t matter if you solder onto the badge, the solder just doesn’t stick to it.
You can’t cause too much damage if you go wrong – of the three bits of soldering you need to do, only one of them actually involves circuitry; both the battery holder and the badge pin are simple attachments rather than completing a circuit.
It looks nice – as an adult, I loved making a cute little badge to wear; I’m going to wear it to school on Monday with pride and show off to my class that I soldered it myself! I really like the display case and I like that the kit itself is so cleverly made with it’s fold out instructions and display case pattern. I think children will really love to make these badges and, if my sense of achievement is anything to go by, will feel really proud of themselves!
It’s affordable – For £2 you can’t really go far wrong and I’m tempted to buy a load for my Code Club as an end of term treat! Yes, you could buy components for cheaper, but this kit really does come with everything you need apart from the actual soldering iron and it’s a nice, safe way to start!
I cannot wait to show these off at my next Coding Evening – so, what’re you waiting for? Go and buy yourself a zoo of soldering badges!

Great tutorial, very cute little project and great concept! Always easier/more fun to learn things hands on!
LikeLike