It’s taken me far too long, but I’ve finally got my hands on a Micro:bit! I often get asked about these little micro-controllers and whether they are useful to have in the classroom so I’m looking forward to testing them out. Thank you very much to Nic Hughes for the loan!
The first thing to say about the Micro:bit is that unlike a Raspberry Pi, it’s not a computer; it’s a micro-controller like an Arduino, which needs to be plugged into a computer to have code uploaded to it. In contrast, a Raspberry Pi is a computer which does not need to be connected to anything else to work. This means that the Micro:bit is slightly more limited than a Pi, but it’s still a cool device.
So, let’s take a look at the physical hardware. The Micro:bit has a number of exciting features, not least of which are a host of components, which are clearly labelled on the back of the device – in particular, a compass, accelerometer and BLE antenna. I really like how clearly everything is labelled on the back for the device, this can be a great teaching point – what do we think each of those things do? How can we integrate them into our code?
The front of the device has 25 red LEDs in a 5×5 array. There are also two programmable buttons, 3 hardware pins, a 3V pin and a ground pin which can be used for add ons like NeoPixels or a growing range of Micro:bit boards designed to fit onto the Micro:bit like HATs on a Raspberry Pi.


In order to use the Micro:bit, you’ll need to head to the Micro:bit website. I suspect that there is an offline version of the various code editors, but for now I’ll work on the assumption that I need to work online. I know you can download Mu (pronounced moo because the creators liked the idea of ‘teachers saying moo in class’), which is a micro-python code editor for the Micro:bit, but I’m not sure about the other code editors.
Given my primary background, I will focus on block-based coding for now, but I can always follow up with a look at micro-python in a few days.
I love that there seems to be a wealth of activities on the website, including a special ‘Mother’s Day Challenge’ (For Americans and other non-UK people, Mother’s day in the UK falls in the middle of lent, which is usually in March, rather than mid-May).
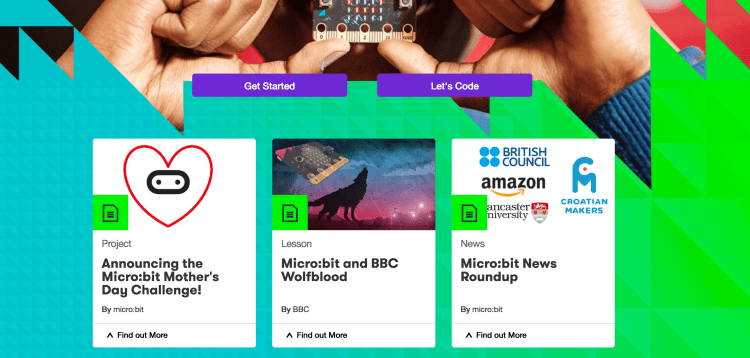
For now, I’m going to be looking at the ‘Let’s Code’ section of the website.
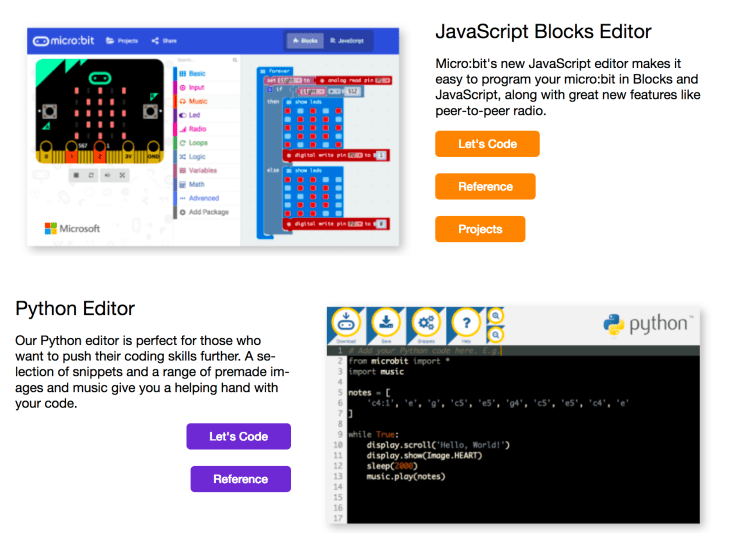
When I first looked at the site a few weeks ago, the JavaScript Blocks editor was still in Beta, but Nic was very firm that we should be using it over the previous blocks editor made by Microsoft. I’ve also seen a tweet today showing that python-blocks is in development, although still only in Alpha at the moment. I can’t wait to see what it looks like!

It’s worth taking a look at the projects page for some ideas about where to start with the Micro:bit and there are a few teachers coming up with schemes of work that use it (I suggest getting in touch with Spencer Organ who has written an entire scheme of work around Harry Potter).

Since I’ve had so much fun making animated pets on the Pi lately, I figured an obvious start point for me would be to do something similar on the Micro:bit. Interestingly, when I went into the code window, it had remembered the piece of work I did several weeks ago when Nic first showed me the Micro:bit, which saved me having to hunt around and figure out the code!
So here’s how the screen looks – it has a nice familiar feel to it since it’s based on Blockly and is therefore very much like Scratch. The blocks are nicely colour coded depending on what you want them to do. I’m particularly curious about the ‘radio’ and ‘music’ options – I think you can allow Micro:bits to talk to each other, but I could be wrong – definitely something I’d like to investigate further.
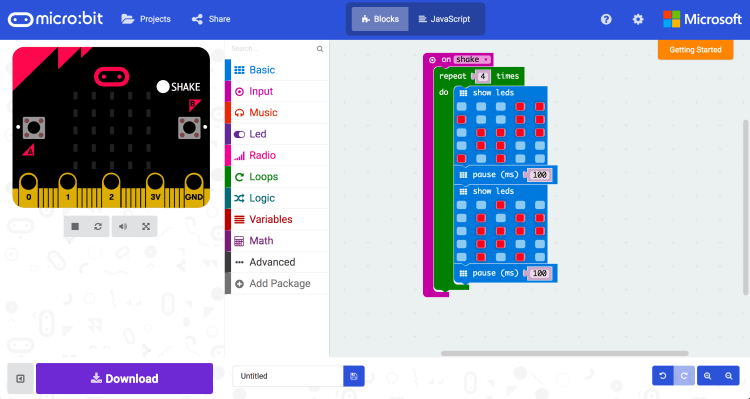
Here’s a closer look at the code I’ve written – the ‘pet’ was a little harder to draw on 25 pixels so it looks a bit weird.

One frustrating thing about the Micro:bit is that you need to download the code and then manually drag and drop it into the Micro:bit although I’m told on a PC you can set the download location directly to the Micro:bit, still it’s a bit of a faff.

A really cool feature of the Micro:bit website is that you can test your code on the website – in the video below you can see that you can test the ‘shake’ feature both by clicking on the shake button or by manually ‘wiggling’ the device. I think it’s really important that we remind children to check their code regularly as it can be really hard to find an error in your code if you’ve written loads and not checked it.
In the second video, you can see the code running on the actual Micro:bit.
There seem to be lots of input options to use instead of ‘on shake’ and I’d be interested in giving them a go, although I’m not sure what they mean. There are also other options to drag in. Take a look below:


Another nice little feature of the blocks editor is that you can view your code in JavaScript. I look forward to this being possible for Python too, which looks like it’s in development based on Nicholas’ tweet mentioned above.


There are a few ‘advanced’ options I’d be keen to explore, as well as the ability to add in packages for add ons which seems intriguing. Hopefully I’ll have a chance to explore some more features soon.


So, what do I actually think about the Micro:bit?
I’m actually more impressed than I thought I would be, I was expecting to be underwhelmed and instead I had great fun playing with the Micro:bit. The website is fairly easy to use and has some lovely features. I look forward to seeing it develop further. I know there are teachers crying out for schemes of work relating to Micro:bit so perhaps that’s something that needs developing further and in my brief hunt around the site I didn’t see any obvious explanation of some of those features in the code editor, but I admit I wasn’t looking too hard.
If I had my way, I’d like to see teachers using Micro:bit with a Raspberry Pi to really emphasise the technology and make clear how unique and exciting digital making can be – check out this resource on using the Micro:bit with Pi. However, if you forced me to choose between Micro:bit and Pi, Pi would win every time, it’s just more versatile and has more opportunity to develop your skills.
Micro:bit is a great place to start on a journey towards digital making and at £12.50 (or £15 if you want a battery pack with it), it’s fairly affordable, but it is simply a start point and you can achieve so much more with Arduino and Pi – for schools it is a good way to introduce text-based languages and I am particularly looking forward to the new block-Python that is being developed. In the long term, however, I know what I’d rather see being used.

Thanks for this…I enjoyed reading it
LikeLike