The reason I started writing this blog was down to the lovely people at the Raspberry Pi Foundation who kindly offered two days of free training. I was so inspired by everything I learned that I was eager to pass on my knowledge. I know that the Pi pages are going to take up a significant amount of this blog so bear with me as I create them….very slowly!
So what is a Raspberry Pi?
Take a look at the lovely video found at the top of this page for a basic outline: http://www.raspberrypi.org/
But what does that mean for a teacher? Well, up until now all of the software I have talked about allows you to manipulate objects on a screen – with the Pi you can do so much more.
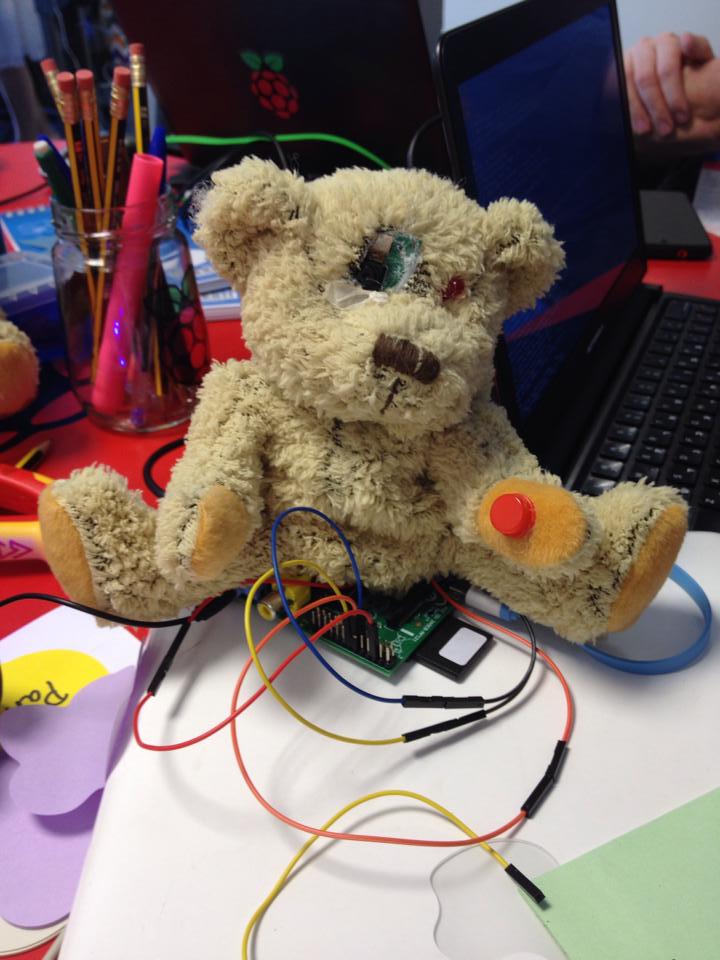
On my training course I was shown how to use the Pi to create working traffic lights that plugged into GPIO pins (more on that later), how to type in lines of code to ‘cheat’ in Minecraft, how to plug in a camera and type in lines of code to make it take a photo and how to code music in Sonic Pi – the upshot of all of this was that, with some of the other teachers on my course, we made a bear which took photos from the click of a button on it’s paw.
For me, the beauty of the Raspberry Pi in the classroom is that you get a very definite physical output – you do the work and you achieve something, not just on the screen, but in real life! There is something so satisfying about the first time you get the code right to take a photo or get the traffic lights moving in time, whether you programme it using Python or even Scratch, you are left with a real sense of achievement.
